
Pusher is a cloud-based platform that provides real-time APIs and tools to build scalable and reliable real-time applications. It enables you to send and receive real-time messages between your clients and servers, making it easy to build real-time features into your web and mobile applications. Pusher uses WebSockets to establish a persistent, bidirectional connection between the client and server. This allows you to send and receive messages in real-time, without the need for polling or long-polling.
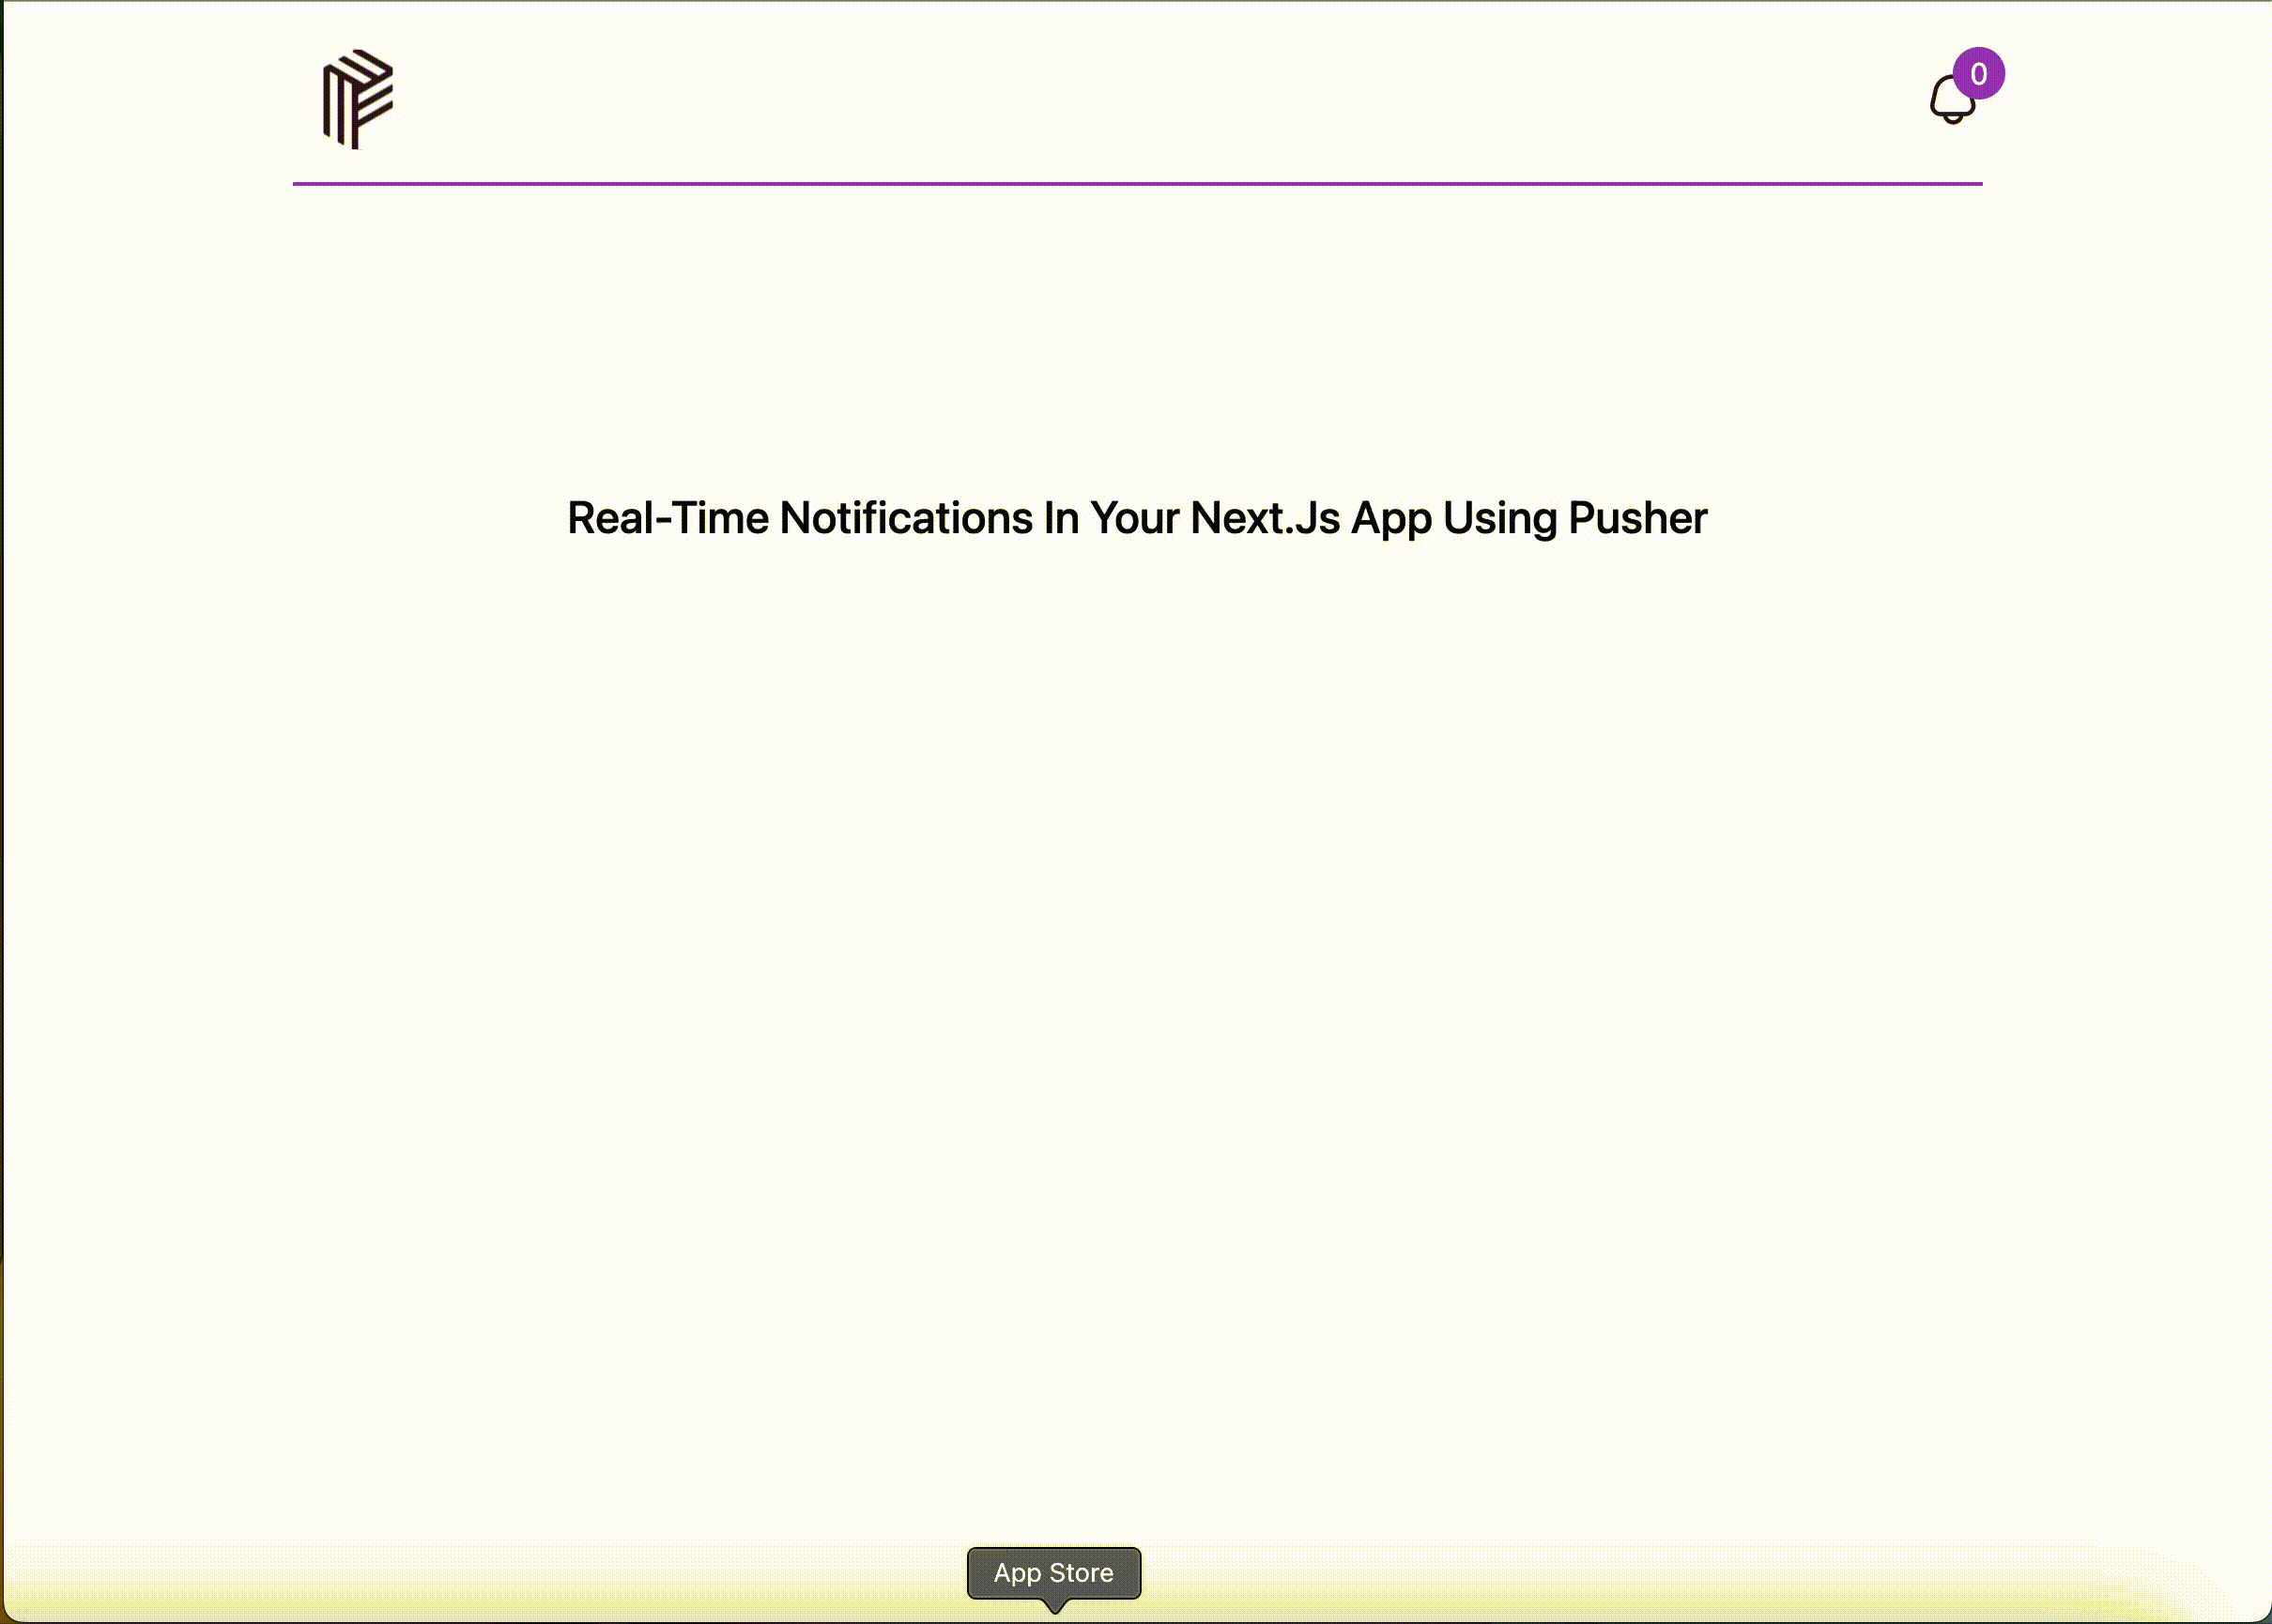
In this tutorial, we'll explore how to use Pusher in a Next.js app to receive notifications in real-time.
Setting up Pusher
To use Pusher in a Next.js app, you'll need to follow these steps:
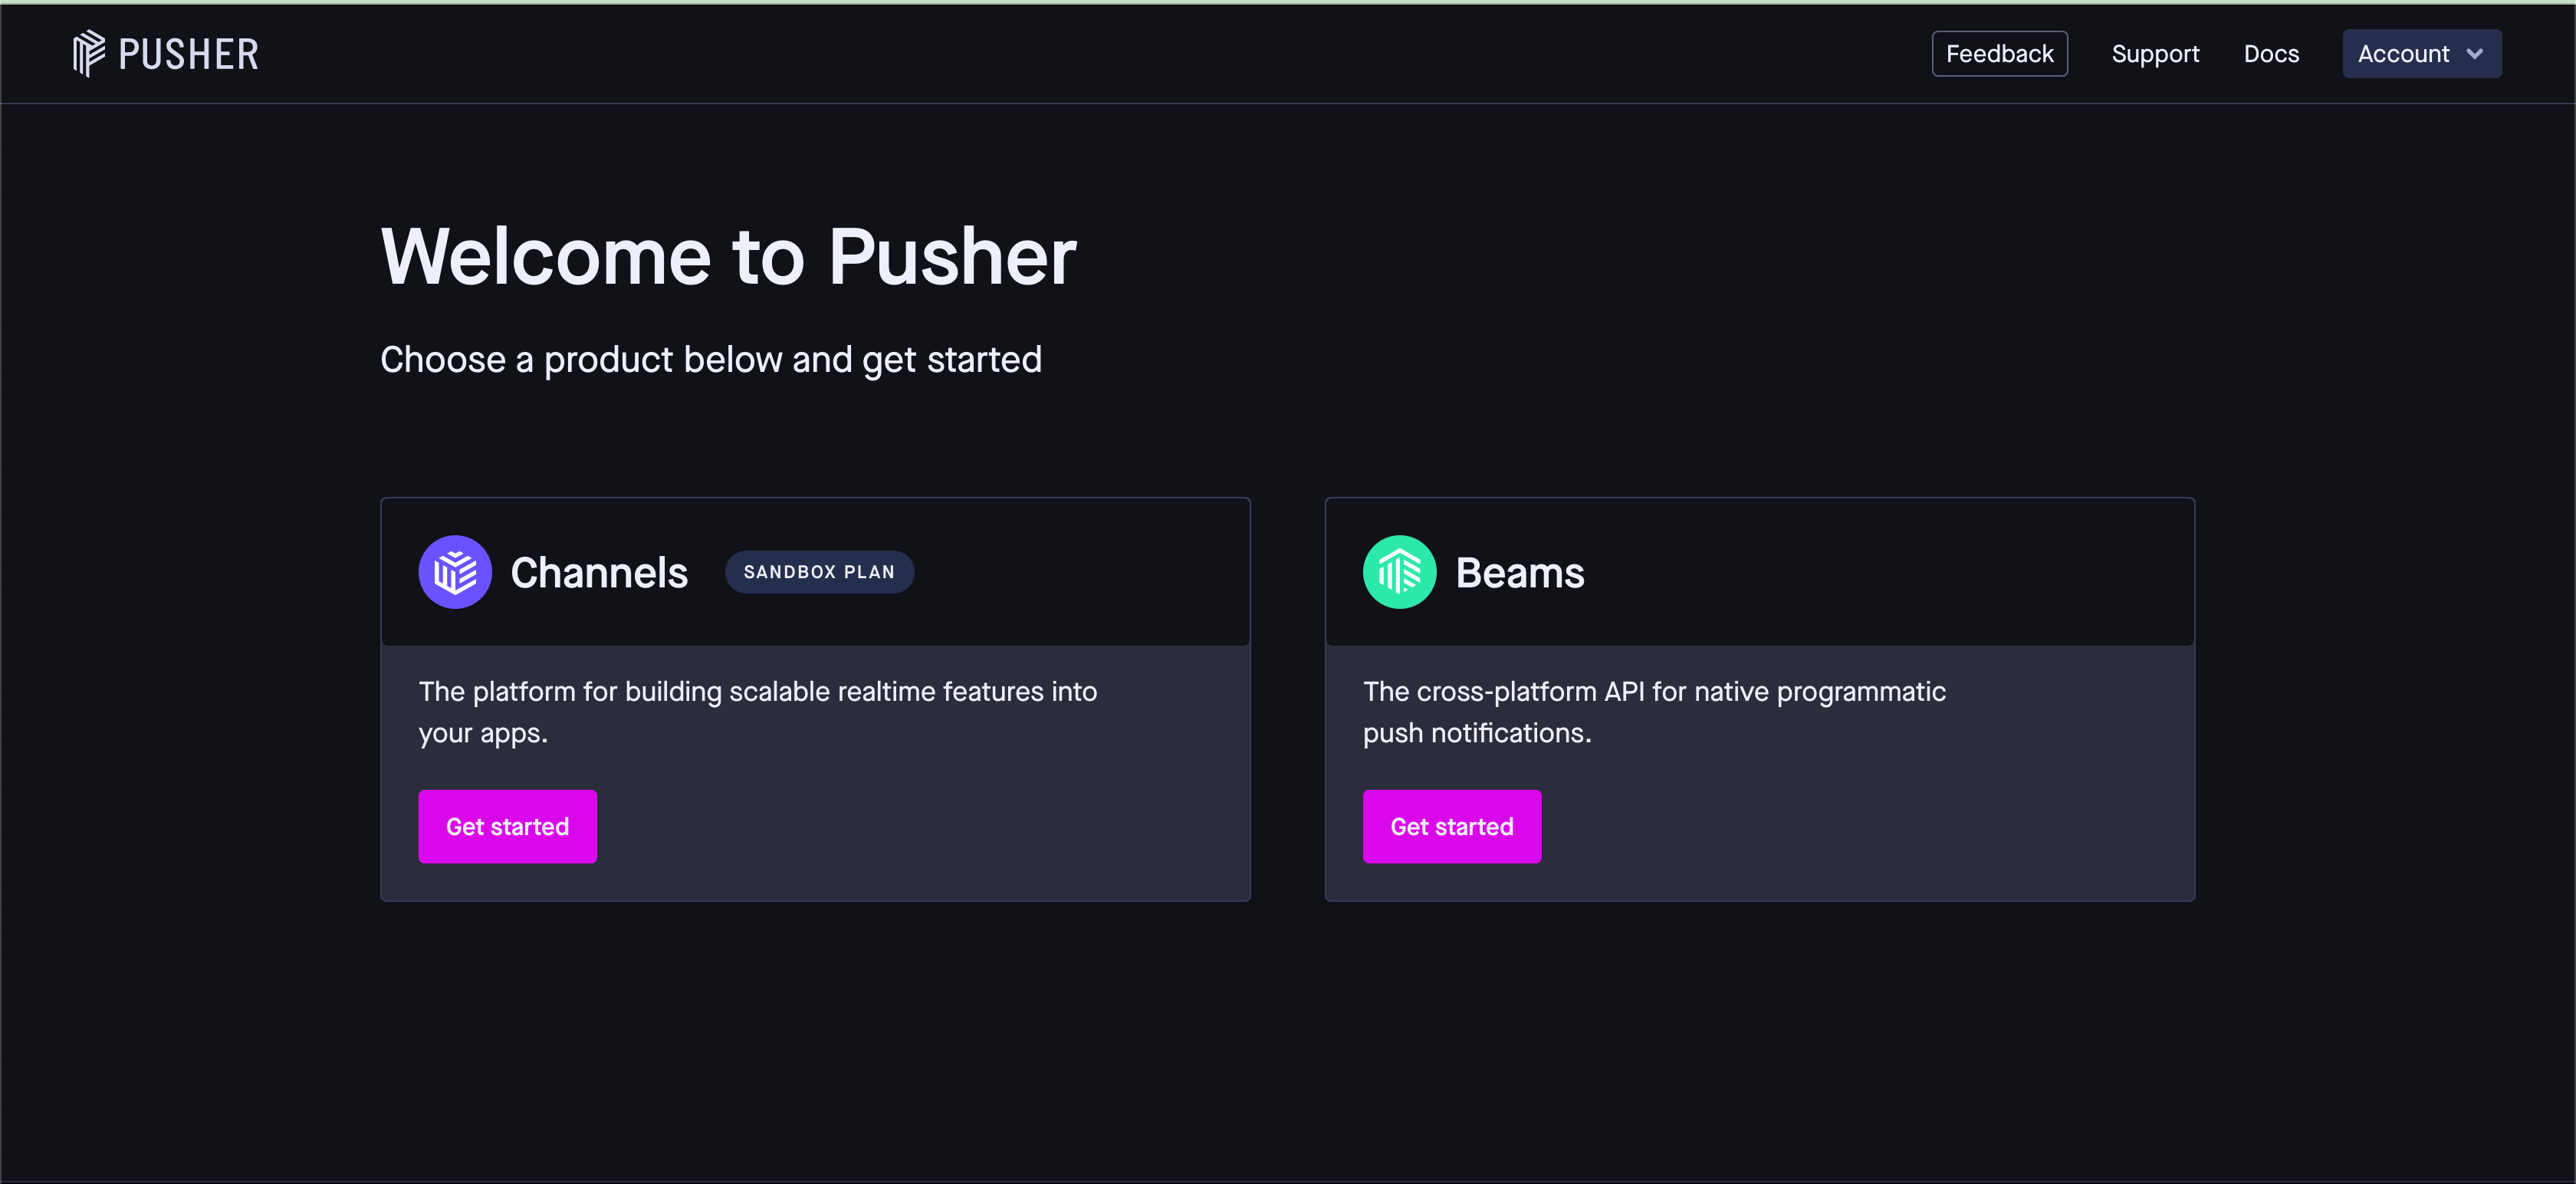
- Create a new Pusher app in the Pusher dashboard, you can sign up for a free account at https://pusher.com/
- Get your Pusher app credentials (app ID, key, and secret) and save them in a
.env.localfile in your Next.js app - Install the
pusher-jslibrary in your Next.js app using.
npm install pusher-js
or
yarn add pusher-js
- Create a new Pusher instance in your Next.js app and subscribe to a channel to receive notifications.
Receiving notifications with Pusher
Once you've set up Pusher in your Next.js app, you can start receiving notifications in real-time. Here's how:
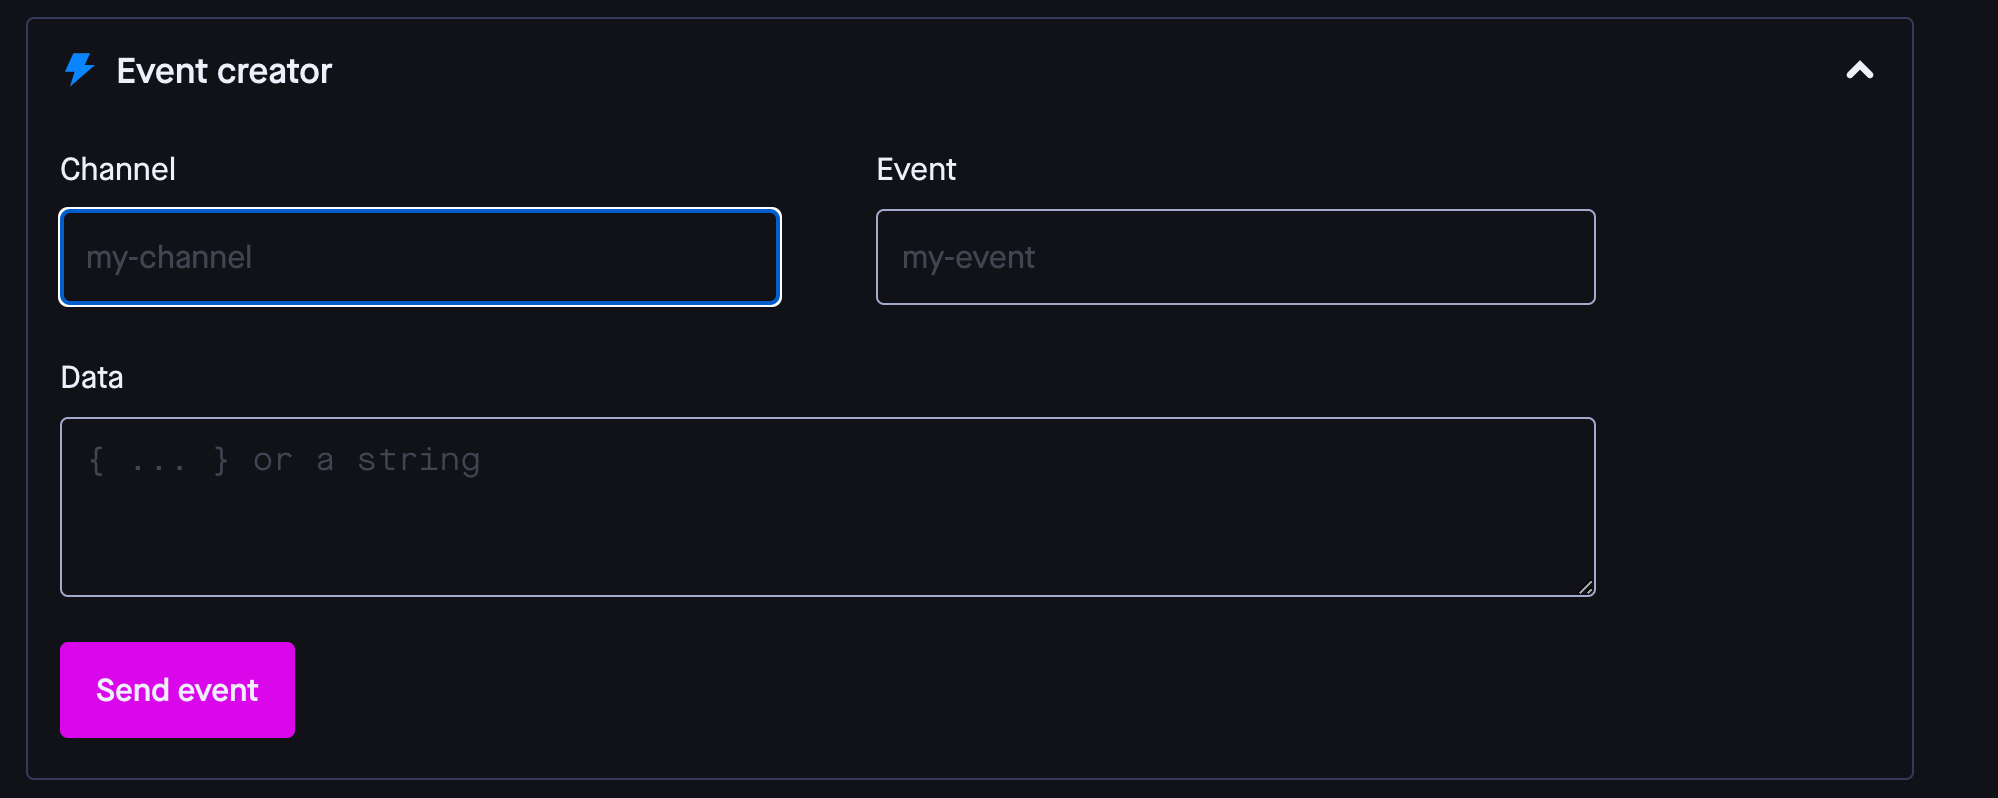
- Bind an event listener to the Pusher channel in your Next.js app to listen for incoming notifications (Go to your channel ⇒ Debug console ⇒ create Event).
- Update the state of your app when a new notification is received using
useState. - Display the notifications received in your app.
import React, { useState, useEffect } from 'react';
import Pusher from 'pusher-js';

const pusher = new Pusher(process.env.NEXT_PUBLIC_PUSHER_KEY, {
  cluster: process.env.NEXT_PUBLIC_PUSHER_CLUSTER,
});

const Notifications = () => {
  const [notifications, setNotifications] = useState([]);

  useEffect(() => {
    const channel = pusher.subscribe(YOUR_CHANNEL_NAME);

    channel.bind(YOUR_EVENT_NAME, (data) => {
      setNotifications([...notifications, data]);
    });

    return () => {
      pusher.unsubscribe(YOUR_CHANNEL_NAME);
    };
  }, [notifications]);

  return (
    <div>
      <h2>Notifications</h2>
      <ul>
        {notifications.map((notification) => (
          <li key={notification.id}>{notification.message}</li>
        ))}
      </ul>
    </div>
  );
};

export default Notifications;
In this example, we're creating a new Pusher instance and subscribing to a channel named ‘YOUR_CHANNEL_NAME’. We're then binding an event listener to the ‘YOUR_EVENT_NAME’ event on the channel, which will be triggered whenever a new notification is received. When a new notification is received, we're updating the state of our app using useState. We're then rendering the received notifications in a list.
Note that in order to use this code, you'll need to replace NEXT_PUBLIC_PUSHER_KEY, and NEXT_PUBLIC_PUSHER_CLUSTER with your actual Pusher key, and cluster.
In this tutorial, we explored how to set up Pusher in a Next.js app and receive notifications in real-time. Using Pusher in a Next.js app is an easy way to add real-time capabilities to your application, and it can greatly enhance the user experience. By following the steps outlined in this tutorial, you can easily integrate Pusher into your own Next.js projects and enable real-time notifications for your users.