
In this article, we are going to explain our setup based on Cloudflare Argo Tunnels + Cloudflare Access that can be used as an alternative to a VPN.
We are going to use Terraform to create the setup, and AWS as a cloud provider, but it should be adaptable to other IaC tools and cloud providers.
Argo Tunnels + Access provides us with an easy way to have and manage fine-grained access control over internal services.
What is Cloudflare Argo Tunnel?
Argo Tunnel provides a secure way to connect your origin to Cloudflare without a publicly routable IP address. With Argo Tunnel, you do not expose an external IP from your infrastructure to the Internet. Instead, a lightweight daemon runs in your infrastructure and creates outbound-only connections to Cloudflare’s edge.
Argo Tunnel offers an easy way to expose web servers securely to the internet, without opening up firewall ports and configuring ACLs. Argo Tunnel also ensures requests route through Cloudflare before reaching the web server, so you can be sure attack traffic is stopped with Cloudflare’s WAF and Unmetered DDoS mitigation, and authenticated with Access if you’ve enabled those features for your account.
For more information, check out Cloudflare Argo Tunnel docs and How Argo Tunnel works.
What is Cloudflare Access?
Cloudflare Access enables distributed account access control integrating with major identity providers (IdP), such as Google, Okta, Microsoft Azure AD, GitHub, Facebook, OneLogin... IT teams can build rules that enforce authentication using their existing identity provider.
By combining Argo Tunnels with Access, we can achieve a great solution to give access to your internal services to people in a secure way, without exposing your services publicly and avoiding the complexity of a VPN service.
Setting up Cloudflare Argo Tunnels and Access
Argo Tunnel relies on cloudflared to create a persistent connection between your web server and the Cloudflare network.
Prerequisites
- Add your website to Cloudflare.
- Change your DNS to Cloudflare.
- Enable Argo Smart Routing for your account.
- Install cloudflared.
Generate a certificate to manage tunnels
We need to generate a certificate that cloudflared will use to create tunnels and change DNS routing.
Once we have installed cloudflared, we need to run the following command:
cloudflared tunnel login
This command will open a browser and prompt you to authenticate with your Cloudflare account.
Once you're authenticated, Cloudflare will return a certificate file, cert.pem, that we will need to save to manage our tunnels.
Setup
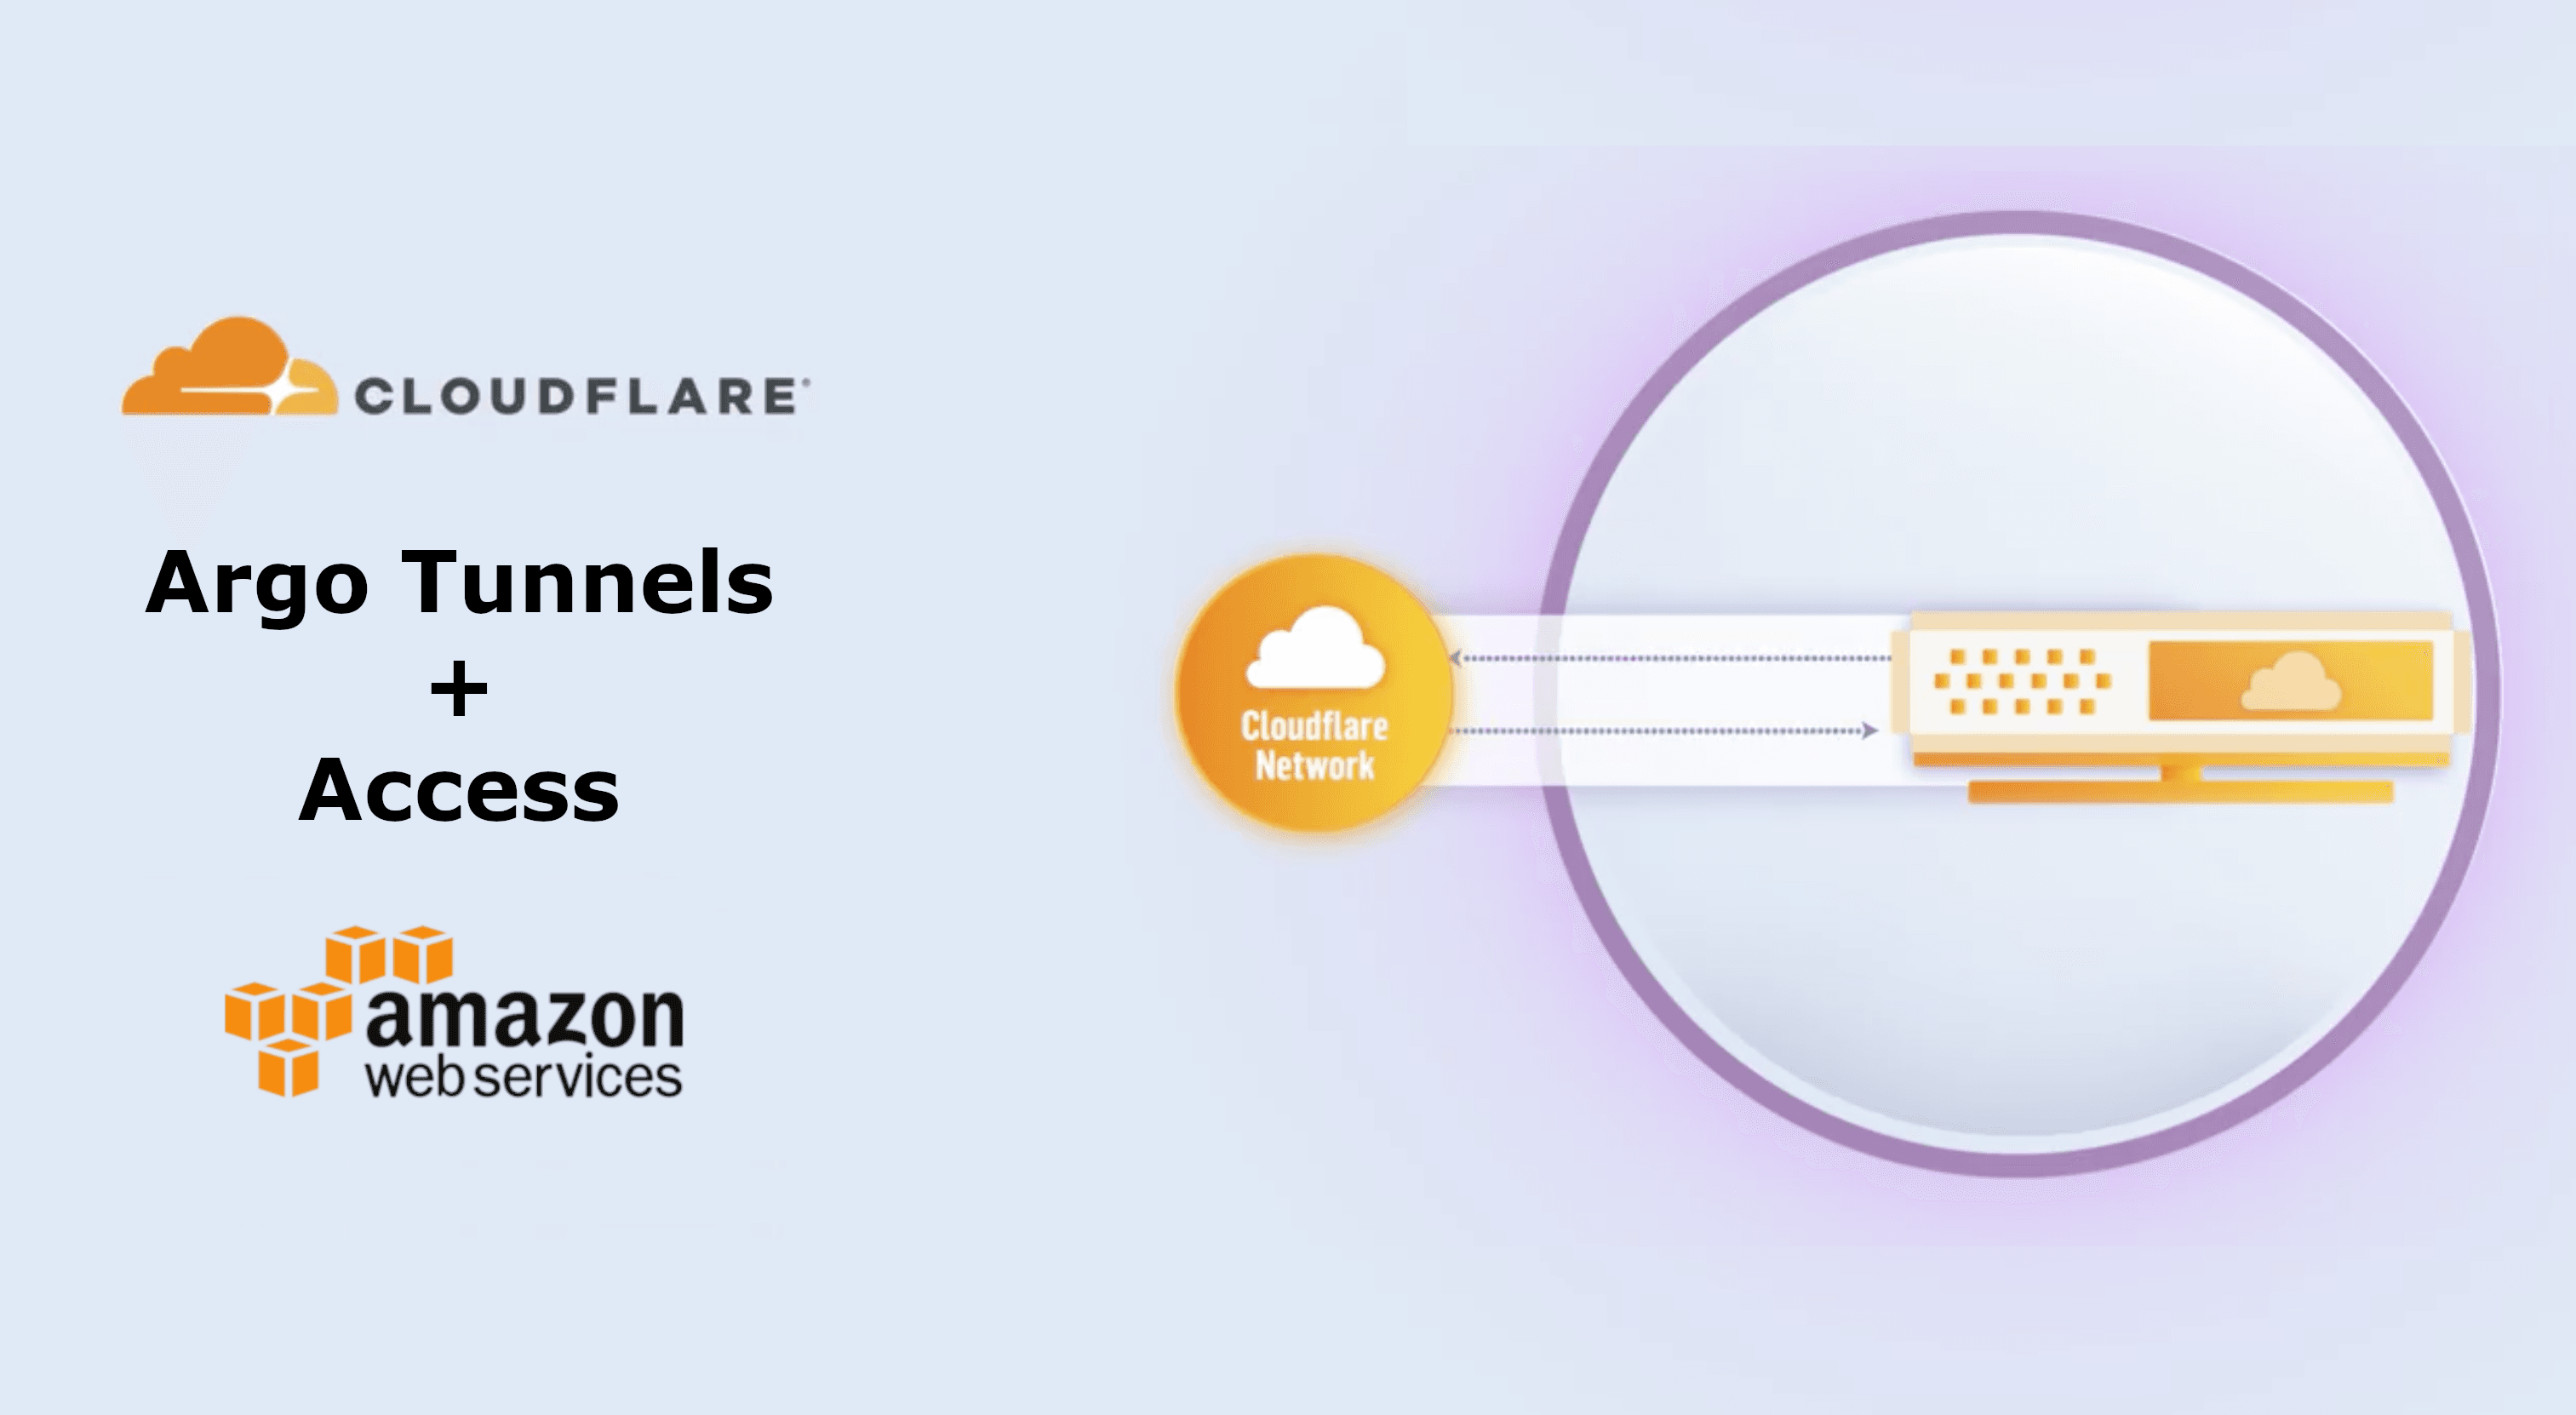
A proxy instance will be used to access internal services. We will run cloudflared on this instance to create and manage Argo Tunnels and DNS records for accessing internal services.
This instance will need to have access to your internal services, so, you have to place it on a VPC that has access to these services. We use a VPC called adm which is peered to other VPCs (stg/qa/prod...). Make sure that you're also allowing access on your internal services Security Groups from this instance on the port you want to expose.
In this simple diagram, you can see the VPC + Cloudflared proxy instance setup on AWS.

We have a Terraform module to create this setup. The Terraform code of this module is available on OBytes GitHub public repos. We are now going to explain the most important parts of this module.
Infrastructure (Terraform & AWS)
The infrastructure is composed of the following components.
- ASG+LT to always keep one EC2 instance available. It uses Amazon Linux as base AMI (though other OS could be used).
- Security Group for the instance, allowing only outbound traffic.
- Secret on AWS Secrets Manager to store the
cert.pemfile (necessary to create tunnels). Once this secret is created, add thecert.pemcontent there as plain-text from AWS console. - IAM policy/role/profile for the instance. It gives access to the EC2 instance to the secret and we are also using SSM in case you need access to the instance.
- Cloudflare Access applications + policies to control access to the services exposed.
It's worth noting these parts.
Cloudflare Access
resource "cloudflare_access_policy" "access_policy_emails_my_service" {
  application_id = cloudflare_access_application.access_application_my_service.id
  zone_id        = var.cloudflare_zone_id
  name           = "Jose"
  precedence     = "1"
  decision       = "allow"

  include {
    email = [
      "[email protected]",
    ]
  }
}

resource "cloudflare_access_application" "access_application_my_service" {
  zone_id                   = var.cloudflare_zone_id
  name                      = "My Service"
  domain                    = var.my_service_hostname
  session_duration          = "24h"
  auto_redirect_to_identity = true
}
This creates a Cloudflare Access application to restrict access to our application and a policy that gives access only to [email protected]. We can see how it's easy to have fine-grained control over who has access to each service.
EC2 instance user data
#!/usr/bin/env bash

# Install cloudflared
wget https://bin.equinox.io/c/VdrWdbjqyF/cloudflared-stable-linux-amd64.rpm
yum -y install cloudflared-stable-linux-amd64.rpm
rm -f cloudflared-stable-linux-amd64.rpm

# Get cert.pem from Secrets Manager
mkdir -p /etc/cloudflared
aws secretsmanager get-secret-value --secret-id ${cert_pem_secret_id} --query SecretString --output text --region ${aws_region} > /etc/cloudflared/cert.pem

# Create a tunnel
RANDOM_TUNNEL_NAME=$(tr -dc A-Za-z0-9 </dev/urandom | head -c 8 ; echo '')
/usr/local/bin/cloudflared tunnel create $RANDOM_TUNNEL_NAME
TUNNEL_UUID=$(/usr/local/bin/cloudflared tunnel list | awk '{x=$1}END{print x}')

# Create DNS entries
/usr/local/bin/cloudflared tunnel route dns $TUNNEL_UUID ${my_service_domain}

# Create config file for multiple hostnames
cat << EOF > /etc/cloudflared/config.yml
tunnel: $TUNNEL_UUID
credentials-file: /etc/cloudflared/$TUNNEL_UUID.json

ingress:
  - hostname: ${my_service_hostname}
    service: ${my_service_url}
  - service: http_status:404
EOF

# Start Cloudflared service
/usr/local/bin/cloudflared service install
This is the instance user data. We can see that we are installing the cloudflared daemon and getting the cert.pem file from Secrets Manager on the first lines.
After this, we create a new Argo Tunnel (one Argo Tunnel supports connections to multiple services) and DNS entries for all the services. Then, we create a config file for multiple hostnames and start the cloudflared service.
To add a new service, we have to:
Create a new DNS entry.
/usr/local/bin/cloudflared tunnel route dns $TUNNEL_UUID ${my_service_2_domain}
Update the config file to route to that service.
cat << EOF > /etc/cloudflared/config.yml
tunnel: $TUNNEL_UUID
credentials-file: /etc/cloudflared/$TUNNEL_UUID.json

ingress:
  - hostname: ${my_service_hostname}
    service: ${my_service_url}
  - hostname: ${my_service2_hostname}
    service: ${my_service2_url}
  - service: http_status:404
EOF
And finally, restart the cloudflared daemon using:
systemctl restart cloudflared
It'd be cool to integrate this with Ansible or other configuration management tool to achieve this without needing to do it manually (using SSM is an option) or rotating the instance (by updating the LT with the new config). We might do that in a future article!
Advanced cloudflared config
Routing to multiple services on the same ALB using the Host header
In the /etc/cloudflared/config.yml you can add multiple services. All the options that this config file supports are shown in this article.
To route to internal services hosted onn AWS, we are using a unique load balancer and then routing traffic based on the Host header. This way, you can have only one load balancer for multiple services.
To achieve this, you need the following config.
cat << EOF > /etc/cloudflared/config.yml
tunnel: $TUNNEL_UUID
credentials-file: /etc/cloudflared/$TUNNEL_UUID.json

ingress:
  - hostname: ${my_service_hostname}
    service: ${my_service_url}
    httpHostHeader: ${my_service_hostname}
  - hostname: ${my_service2_hostname}
    service: ${my_service2_url}
    httpHostHeader: ${my_service2_hostname}
  - service: http_status:404
EOF
Then, configure the load balancer listener rules to route based on the Host header.
resource "aws_alb_listener" "alb_listener_internal_services" {
  load_balancer_arn = aws_alb.alb_internal_services.id

  port            = 443
  protocol        = "HTTPS"
  certificate_arn = var.acm_certificate_arn

  default_action {
    type = "fixed-response"

    fixed_response {
      content_type = "text/plain"
      message_body = "Unauthorized"
      status_code  = "403"
    }
  }
}

resource "aws_lb_listener_rule" "api" {
  listener_arn = aws_alb_listener.alb_listener_internal_services.arn
  priority     = 99

  action {
    type             = "forward"
    target_group_arn = aws_alb_target_group.alb_tg.id
  }

  condition {
    host_header {
      values = [var.host]
    }
  }
}
Accessing arbitrary TCP ports
Cloudflared also supports arbitrary TCP ports. This means you can use it to access all kinds of services on different ports, such as databases, SSH to instances...
We are going to show how to add a Postgres DB. Our config should look like this:
cat << EOF > /etc/cloudflared/config.yml
tunnel: $TUNNEL_UUID
credentials-file: /etc/cloudflared/$TUNNEL_UUID.json

ingress:
  - hostname: ${my_service_hostname}
    service: ${my_service_url}
    httpHostHeader: ${my_service_hostname}
  - hostname: ${my_service2_hostname}
    service: ${my_service2_url}
    httpHostHeader: ${my_service2_hostname}
  - hostname: my-db.my-project.com
    service: tcp://my_postgres_db_host.com:5432
  - service: http_status:404
EOF
Then, run on your local computer:
cloudflared access ssh --hostname my-db.my-project.com --url localhost:5432
And your DB will be accessible on localhost:5432.
Cloudflare Access log in portal
Cloudflare provides us with a customizable portal to log in to Access and access internal services from there. It can be found at https://your_domain.cloudflareaccess.com/#/.
By default, it uses a one-time pin method to log in. So, you enter your e-mail and, if you have permissions, you receive a code to log in.

Then, you have a nice, customizable UI to access internal services.

And this is all! If you have any doubt, feel free to reach me out using the comments or via Twitter (@kstromeiraos).