
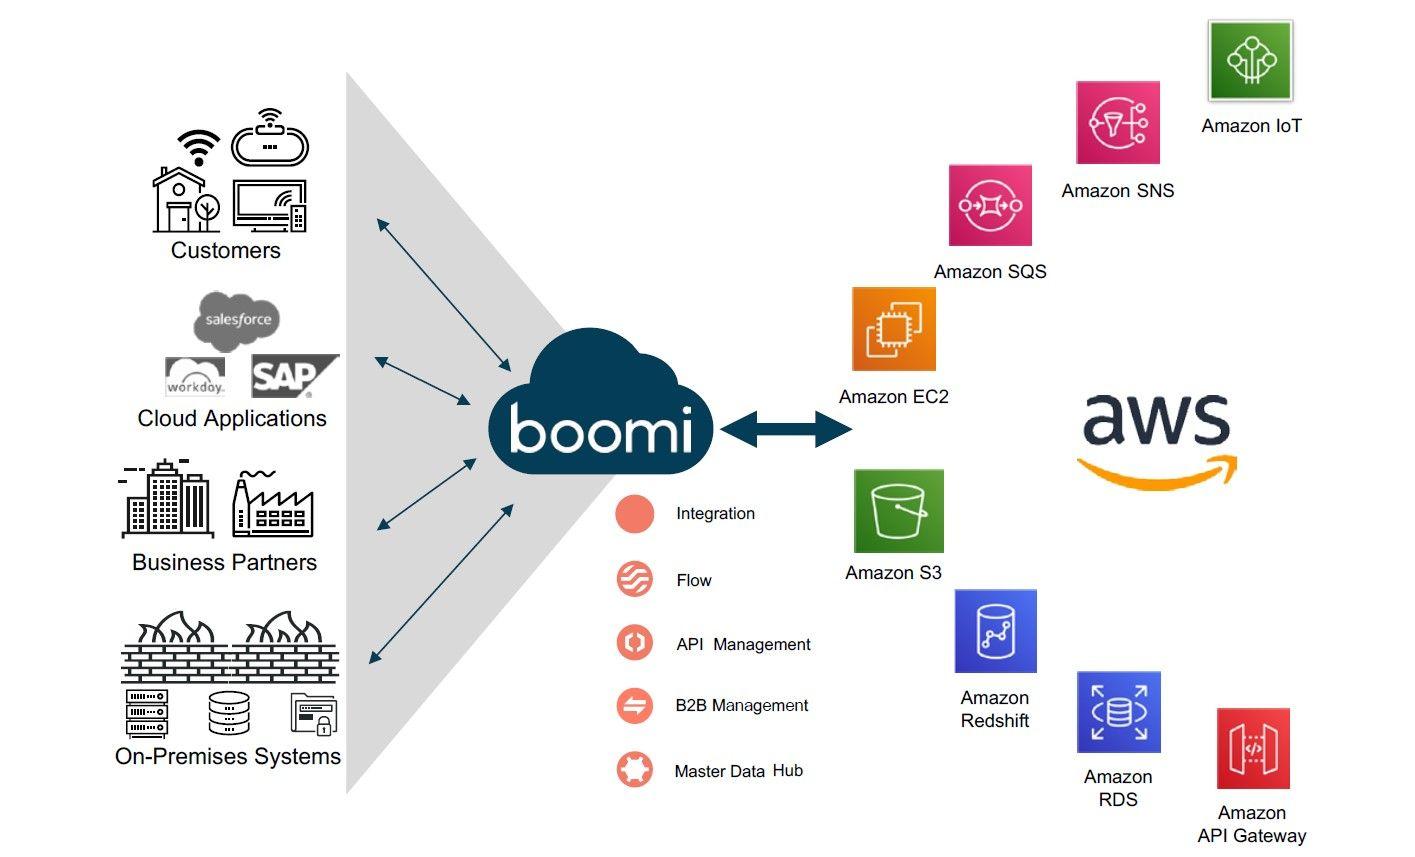
At Obytes, we recently started using Boomi as Service Integration Platform. Our requirement was to run Boomi Atom in AWS, and we had interesting and fun challenges to overcome, from deployment, CI/CD, monitoring and alerting.
We decided to create this article in series of articles that aims to share our experiences when it comes to deploying Boomi in cloud services. In this this article, we will start with deploying Boomi in AWS ECS using Terraform. It's worth mentioning that, there are other guides by Boomi on how to deploy Boomi Molecule on AWS that explain how to run Boomi in AWS using EC2 instances and AWS CloudFormation.
Things to take into consideration before starting:
- You must have a valid Dell Boomi AtomSphere account to use the Boomi docker image. For information about getting a 30-day free trial account, see AtomSphere Editions.
- Boomi docker image can be run in two modes, privileged and unprivileged mode. In our deployment we are going to work with the unprivileged for security risks associated with the privileged containers.
- Boomi using systemd daemon and systemctl to start its services, for more information kindly check this article
- There are some requirements we should meet in order to be able to run systemd in unprivileged mode, such as mounting /sys/fs/cgroup as R/O or R/W, /run and /tmp as tmpfs filesystem, for more information please refer to running-systemd-in-a-non-privileged-container and Boomi Atom DockerHub.
- Since Boomi requires tmpfs volumes, we should use EC2 launch type as of writing this article the FARGATE container still lacks the support for tmpfs, for more information kindly refer to task_definition_parameters.
- We are going to use AWS EFS mount points as it is required when working on Boomi Molecule and settings up and AWS CloudWatch logging which we will discuss in other articles.
High Level Diagram of the topology
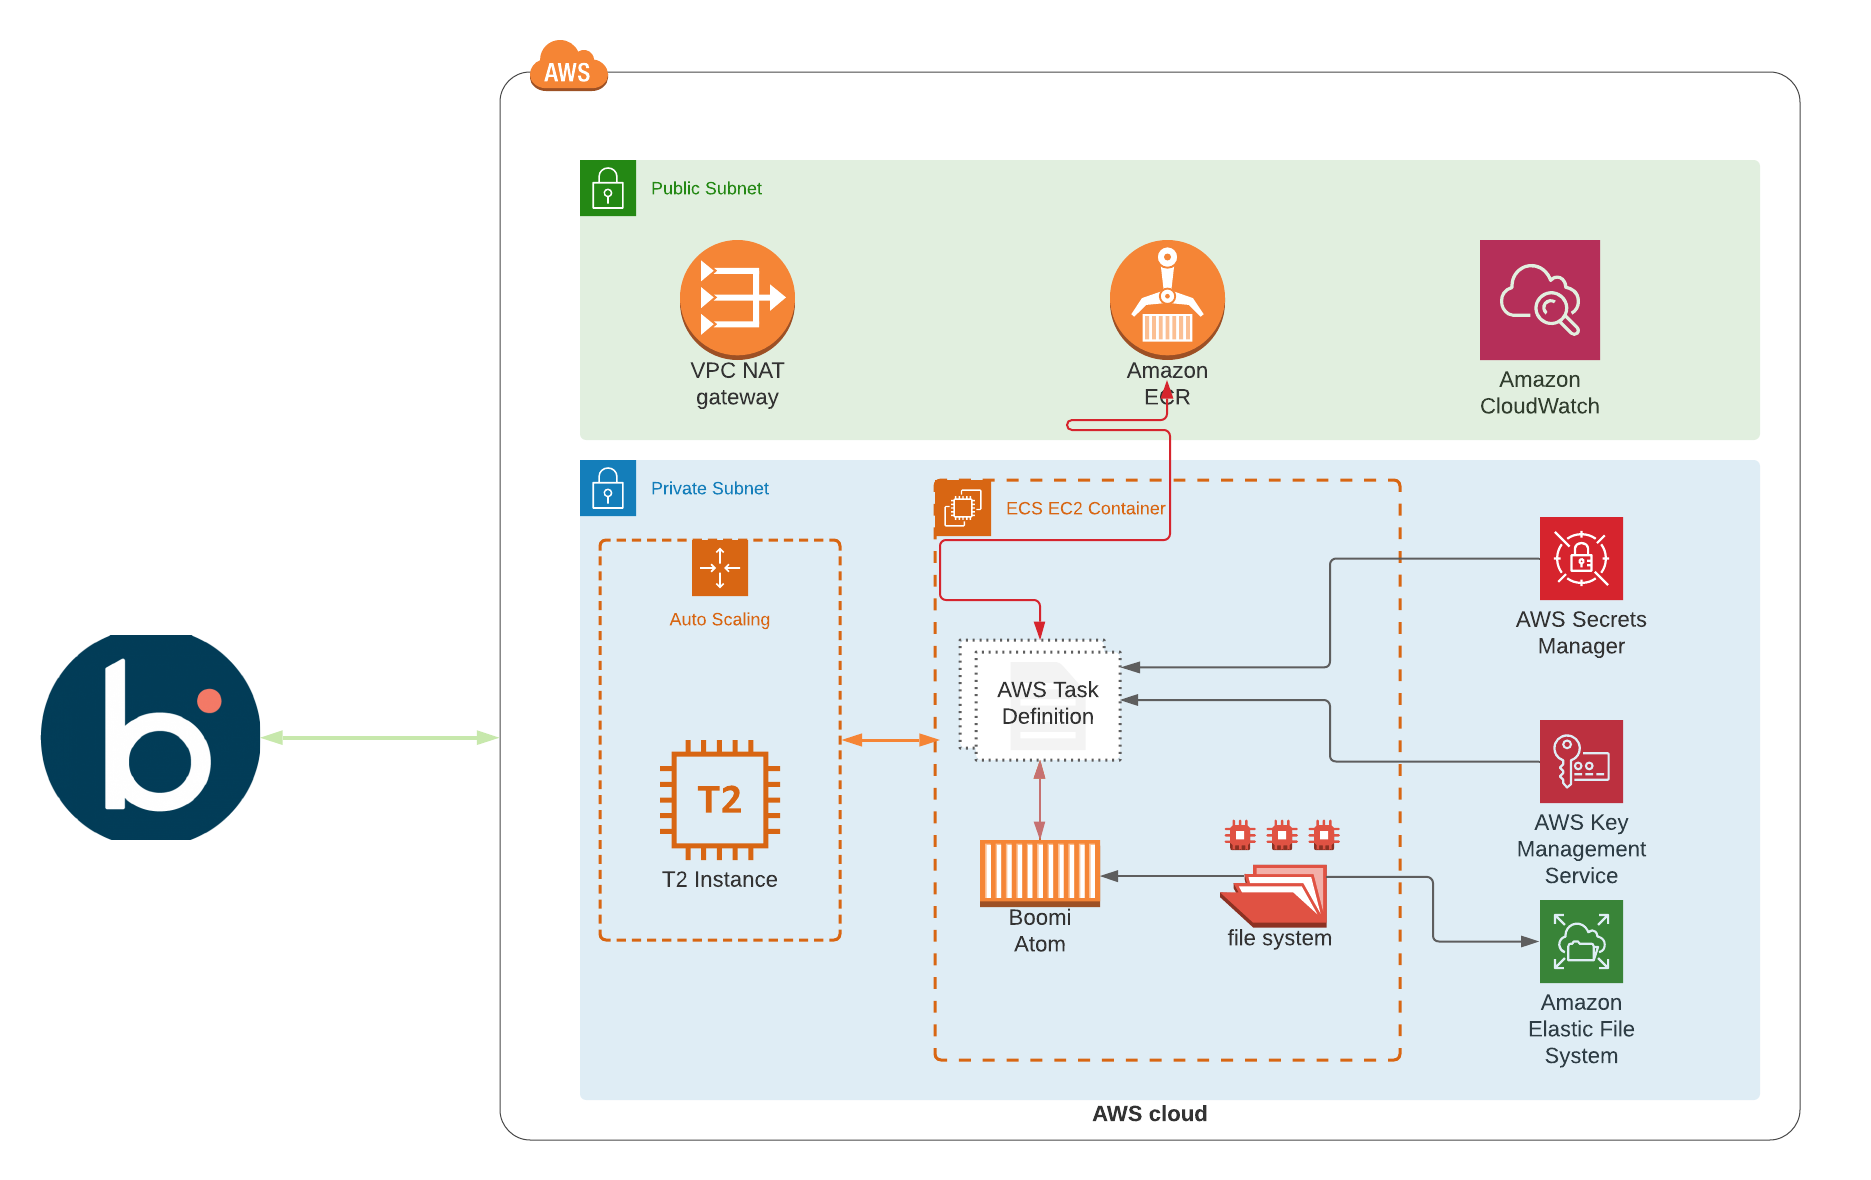
Overview of the Infra and Docker Image
The Infrastructure
- ECS Cluster: EC2 launch type with the required AutoScaling Group and launch configuration.
- EFS: AWS EFS mount points to be used by the ECS Task definitions and the required assume_roles to access other services such as ECR,CW and ECR
- AWS Secrets Manager: We are using the secrets manager to store the secrets and parameters please, refer to this repo for more information Boomi Atom
- ECR: For hosting a docker image which we are going to build in a few seconds!
The Infra Repo
- Covering VPC creation is not part of the article scope, but if you are looking for managing VPC via terraform, you can check the official terraform-aws-vpc
- The repo is structured based on Terraform standard modules structure terraform-aws-ecs-boomi
- All the required variables, expected outputs and an example of how to call the module, could be found on the README.md
- All resources' name are being prefixed by the provided
prefixvariable you provide while calling the module
The Docker Image
- We are extending the boomi/atom docker image to install the required packages [awscli, jq] to export the AWS Secrets as ENV variables, kindly refer to Dockerfile for more details
- entrypoint.sh file is used to export the secrets stored by AWS secrets manger on boot time, this is done by defining the
SECRETS_IDenv variable on aws ecs task definition and with the help of awscli and jq packages we are exporting the secrets stored on aws secrets manager, kindly check the entrypoint file for more details
"environment": [
     {
       "name": "SECRETS_ID",
       "value": "${aws_secretsmanager_secret.secrets.id}"
     },
......
Get Things Done!
After the long introduction and overview of the resources, let’s start to get things done! Our first step is to build the image using the Dockerfile hosted on the repo, we can do this by running the below command, the docker image will be tagged as boomi_ecs:latest.
$ docker build -t boomi_ecs:latest .
Please note the task-definition used by the Boomi module is referencing the tag name provided by
var.image_tagvariable which is defaulted tolatest, below is the snippet for more clarification
"image": "${var.repository_url}:${var.image_tag}",
    "name": "${var.container_name}",
    "networkMode": "awsvpc",
    "entryPoint": [
      "sh", "/home/boomi/entrypoint.sh"
    ],
    "command": [
      "/sbin/init"
    ],
Once the image is built, we will switch to our terraform repo and execute terraform apply, just be aware in prior to running the plan you should define the required variables mentioned in the README.md, once you are happy with the terraform plan and getting a clean one you can proceed with the terraform apply. This module will prepare our AWS infra. with the required resources such as ECS Cluster, EC2 nodes, ECR repo, S3 bucket for logging and KMS Key which will be used to publish our local image to.
Please refer to the below steps to upload local image to ECR.
aws ecr get-login-password --region <region_name> | docker login --username AWS --password-stdin <AWS_ACCOUNT_ID>.dkr.ecr.us-east-1.amazonaws.com

docker tag boomi_ecs:latest <AWS_ACCOUNT_ID>.dkr.ecr.us-east-1.amazonaws.com/prd-boomi-useast1:latest

docker push <AWS_ACCOUNT_ID>.dkr.ecr.us-east-1.amazonaws.com/prd-boomi-useast1:latest
Now it’s the time to obtain a Boomi Atom installation token, this can be done by logging with your Boomi account and go to Manager -> Atom Management and clicking on the New button located at the right of the search bar on the left menu. No need to download the installer as we are going to use our docker image which built in the previous step.

By now we have all the required attributes needed by the Atom container to boot up. for more details about which attributes/secrets needed by the docker please refer to Boomi Atom Docker Hub - in our deployment we are going to use:
- INSTALL_TOKEN - (Alternative to BOOMI_USERNAME and BOOMI_PASSWORD) Specifies a unique installer token. A token is valid only for the account in which it was generated. Tokens expire after a set amount of time ranging from 30 minutes to 24 hours.
- BOOMI_ACCOUNTID - (Required with BOOMI_USERNAME and BOOMI_PASSWORD; invalid with INSTALL_TOKEN) Specifies your AtomSphere account ID
- BOOMI_ATOMNAME - (Required) Specifies the name of the Atom that you are installing.
- BOOMI_CONTAINERNAME - (Optional) Specifies a name for the Atom container that is different from the Atom name. This name will be displayed on the AtomSphere Atom Management page.
- BOOMI_ENVIRONMENT_NAME
- INSTALLATIONDIRECTORY - (Optional) Specifies the directory where the Atom will be installed. By default, the Atom is installed in /var/boomi/Atom.
- URL : URL for the Boomi Platform
- BOOMI_ENVIRONMENT_CLASS - Whether the environment is production or testing
Most of these attributes will be filled automatically by applying the terraform module ${var.prefix}-params, EXCEPT the INSTALL_TOKEN and BOOMI_ACCOUNTID will be added manually as key/value pairs to the ${var.prefix}-secs on the console just not to keep any secrets in the terraform state.
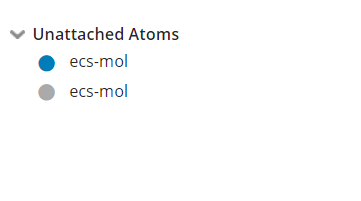
Once all the secrets are added to both secretsmanger, you should be able to see the atom online but un-attached on Atom Management Page in Boomi.
Conclusion
I hope you find this article useful, feel free to submit your comments and I will be more than happy to answer your inquiries.
Dont miss Part 2 of this series for integrating the Atom container with AWS CloudWatch Agent.