


React Native is a popular framework for building cross-platform mobile applications. It allows developers to use the same code base for both iOS and Android platforms. However, there are occasions when developers need to access some native API that is not provided by Javascript by default. In that case, you may want to reuse some existing Java, Objective-C, or Swift code without having to recreate it in Javascript, or you may want to write some high-performance code for complicated things such as augmented reality. Then you can import the module into your React Native app and use it in your Javascript code. In this post, we will build a native module to check the connectivity to the internet.
Create a new React Native app:
We will create our React Native app using the usual process, and we will name itNetworkNativeModule.
npx react-native init NativeNetworkModule
cd NativeNetworkModule
At this point, you may want to run the app to make sure that everything is working fine.
npx react-native run-ios
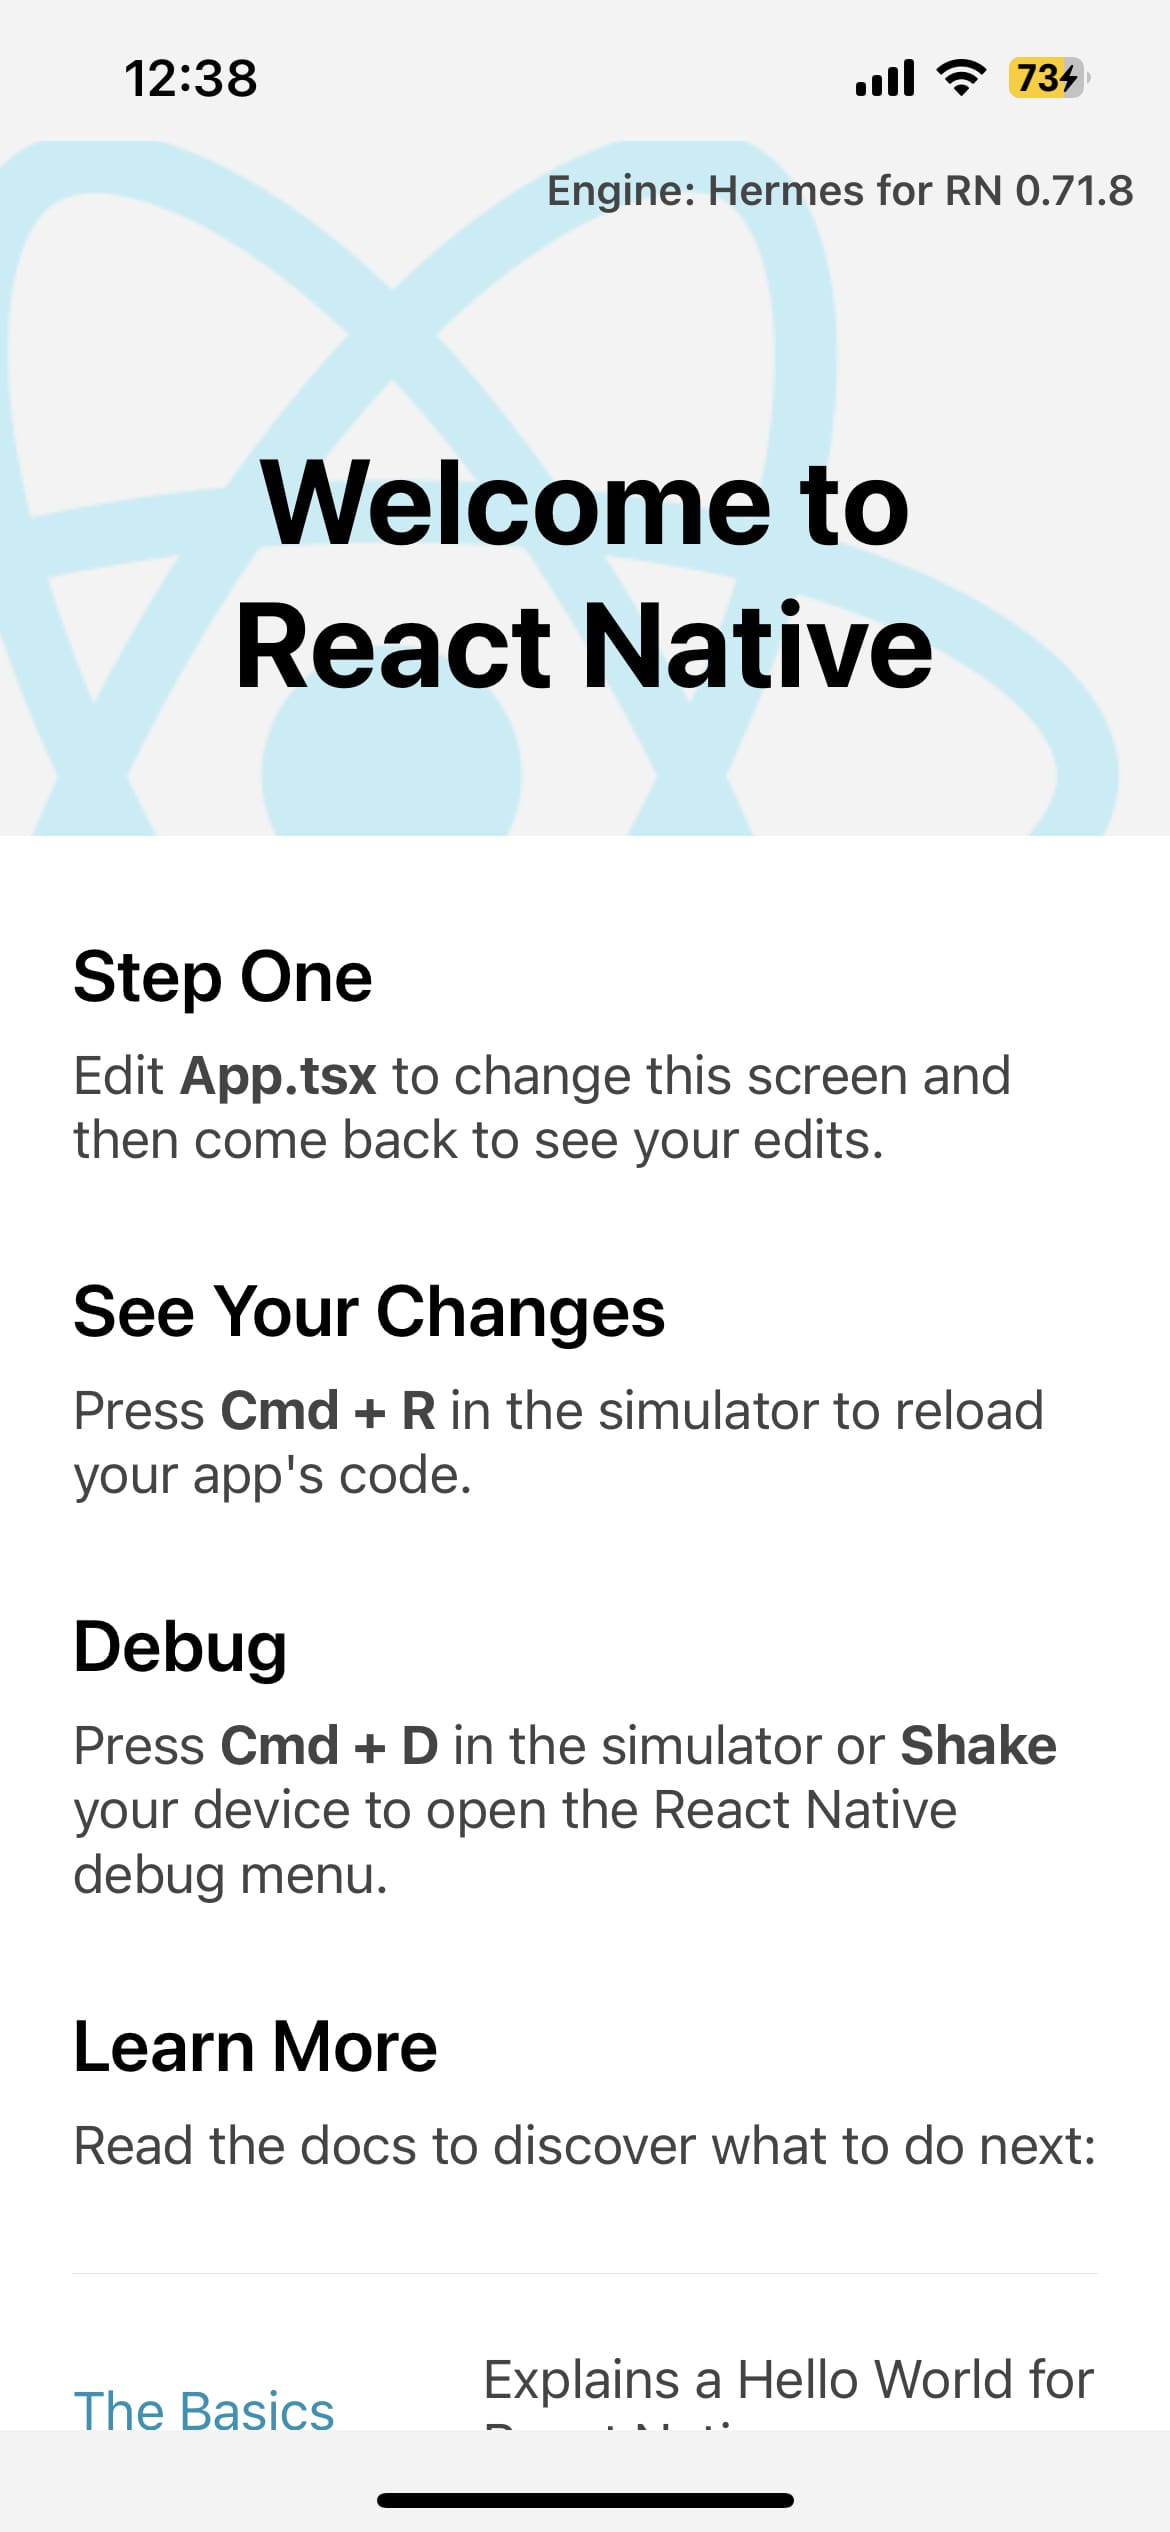
So you will end up with the app running in your iOS simulator.
Awesome! The app is running fine; let's now open the Xcode project by opening NativeNetworkModule.xcworkspace:
cd ios && open NativeNetworkModule.xcworkspace
Create a Swift file:
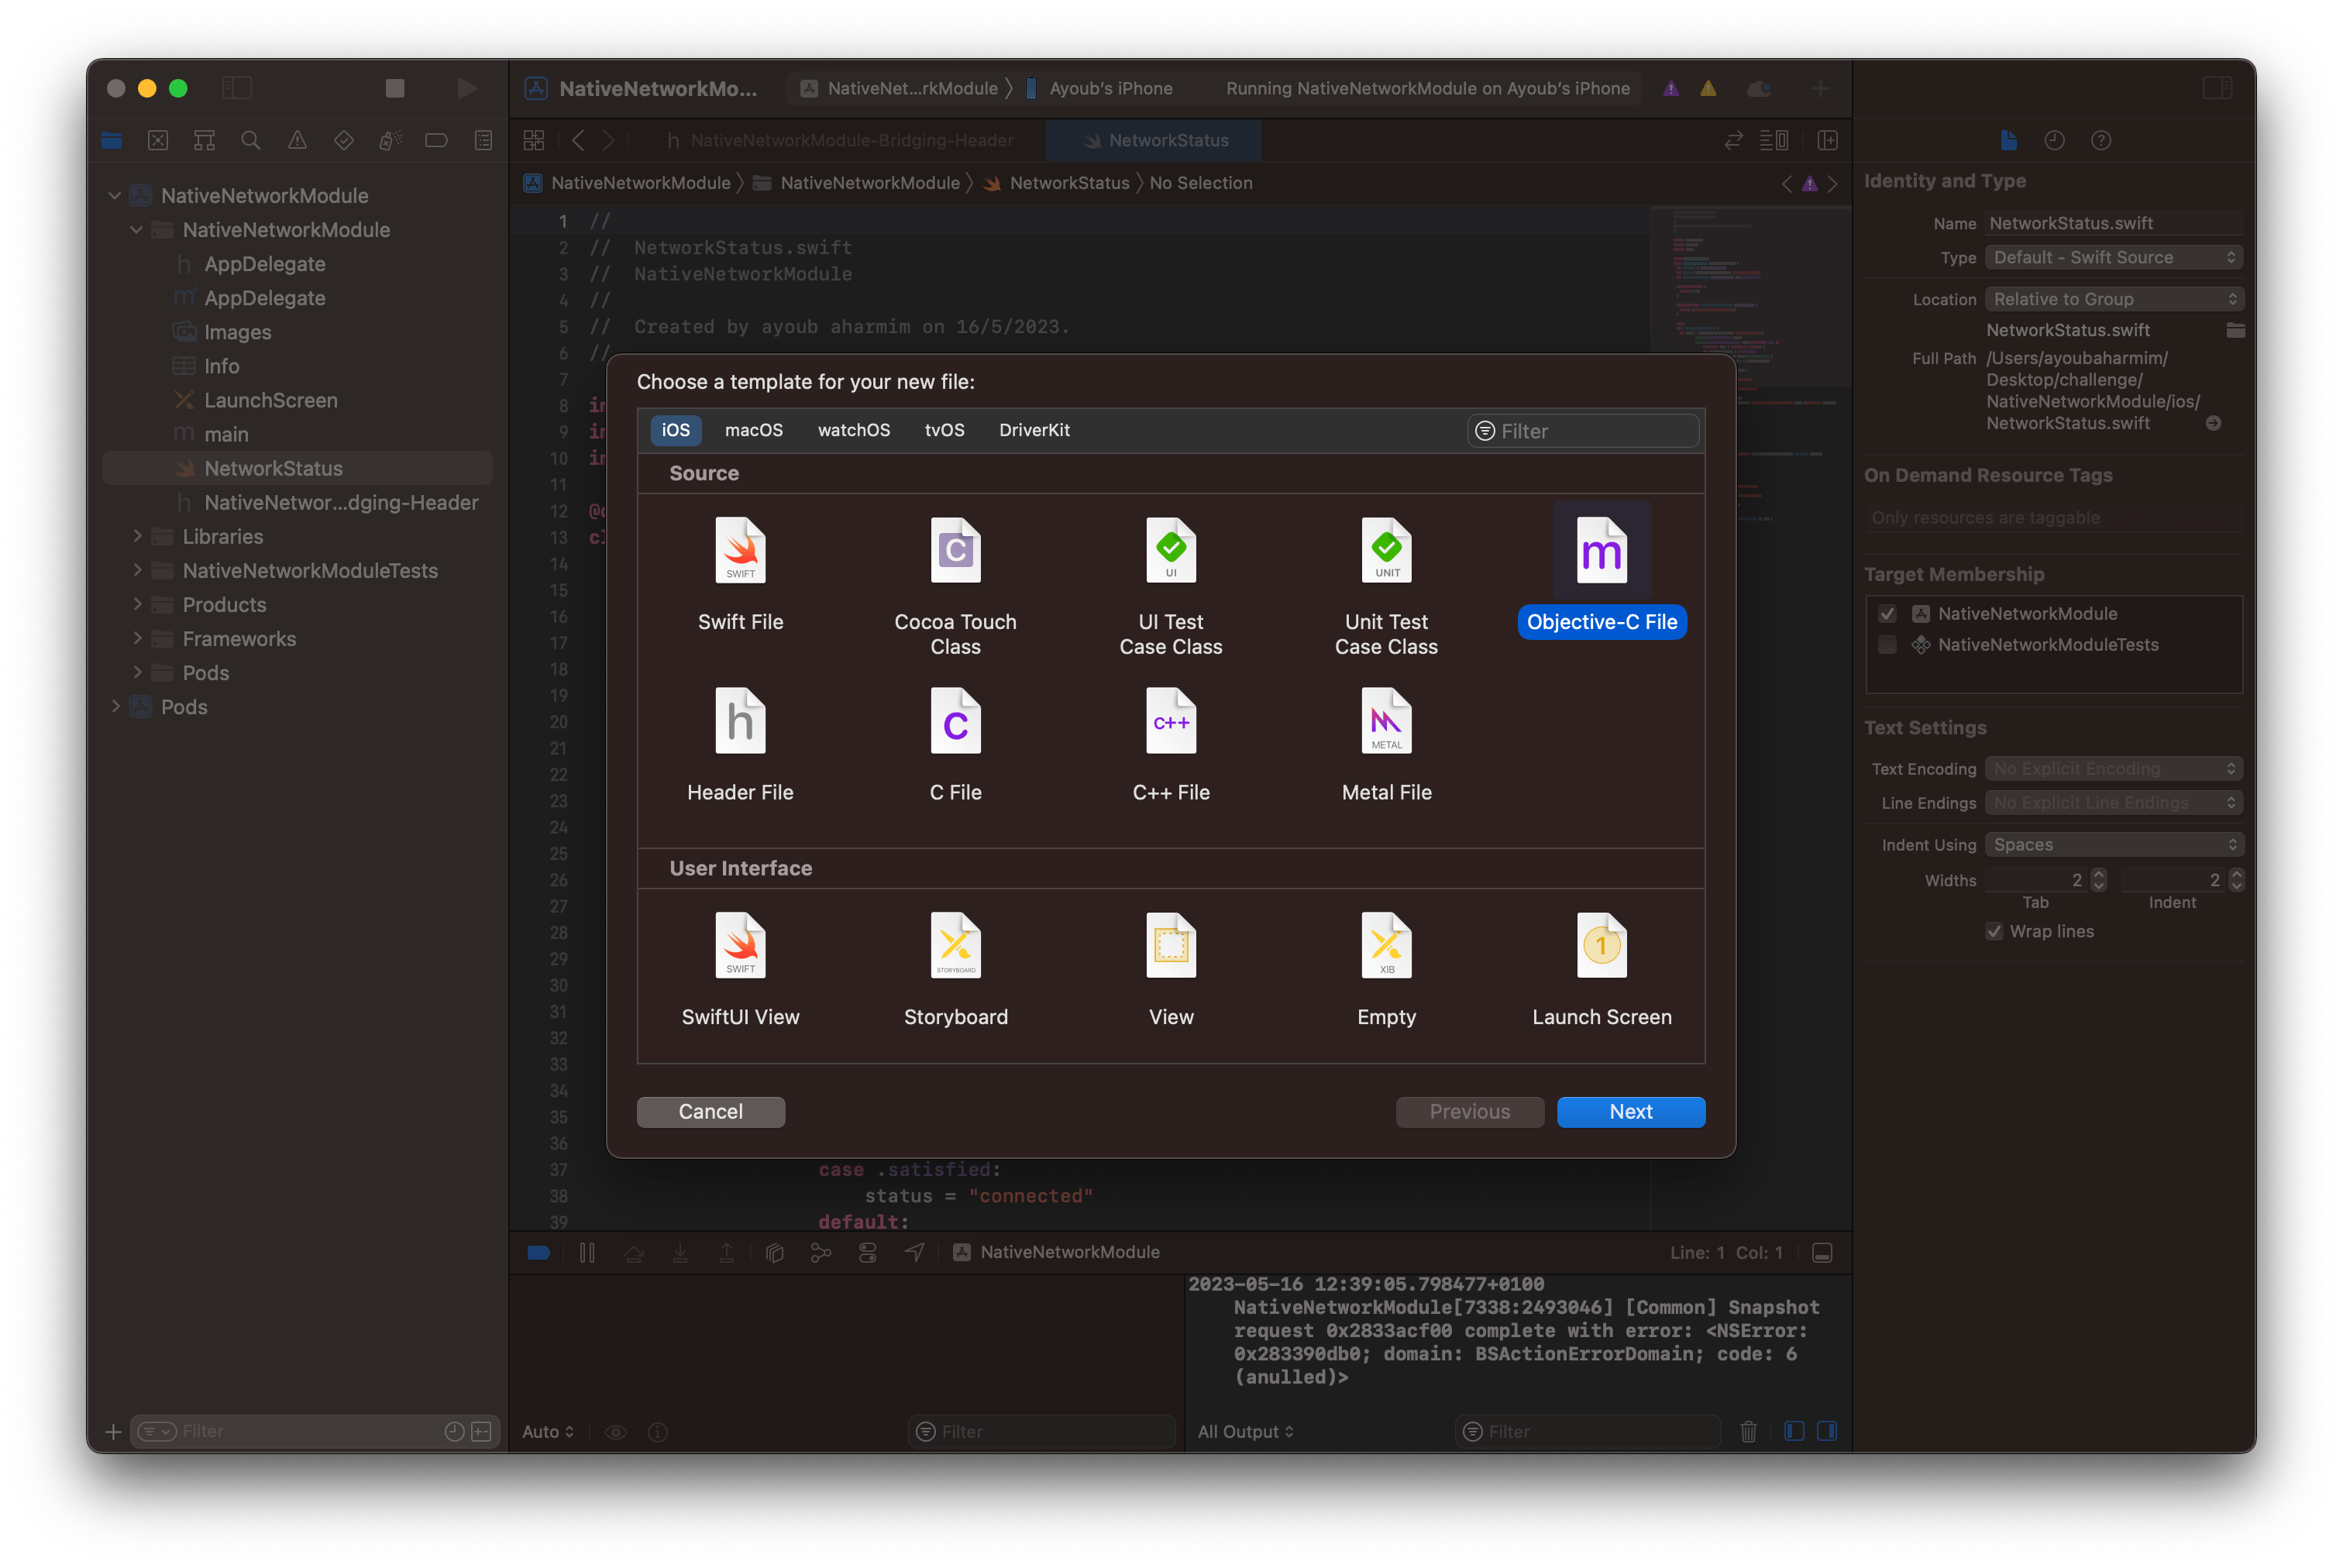
Now, we will create a new file in the Xcode project that will contain the code of our native module. We will call it NetworkStatus.swift. To do this, right-click on the Xcode project and select New File, or (cmd + N):
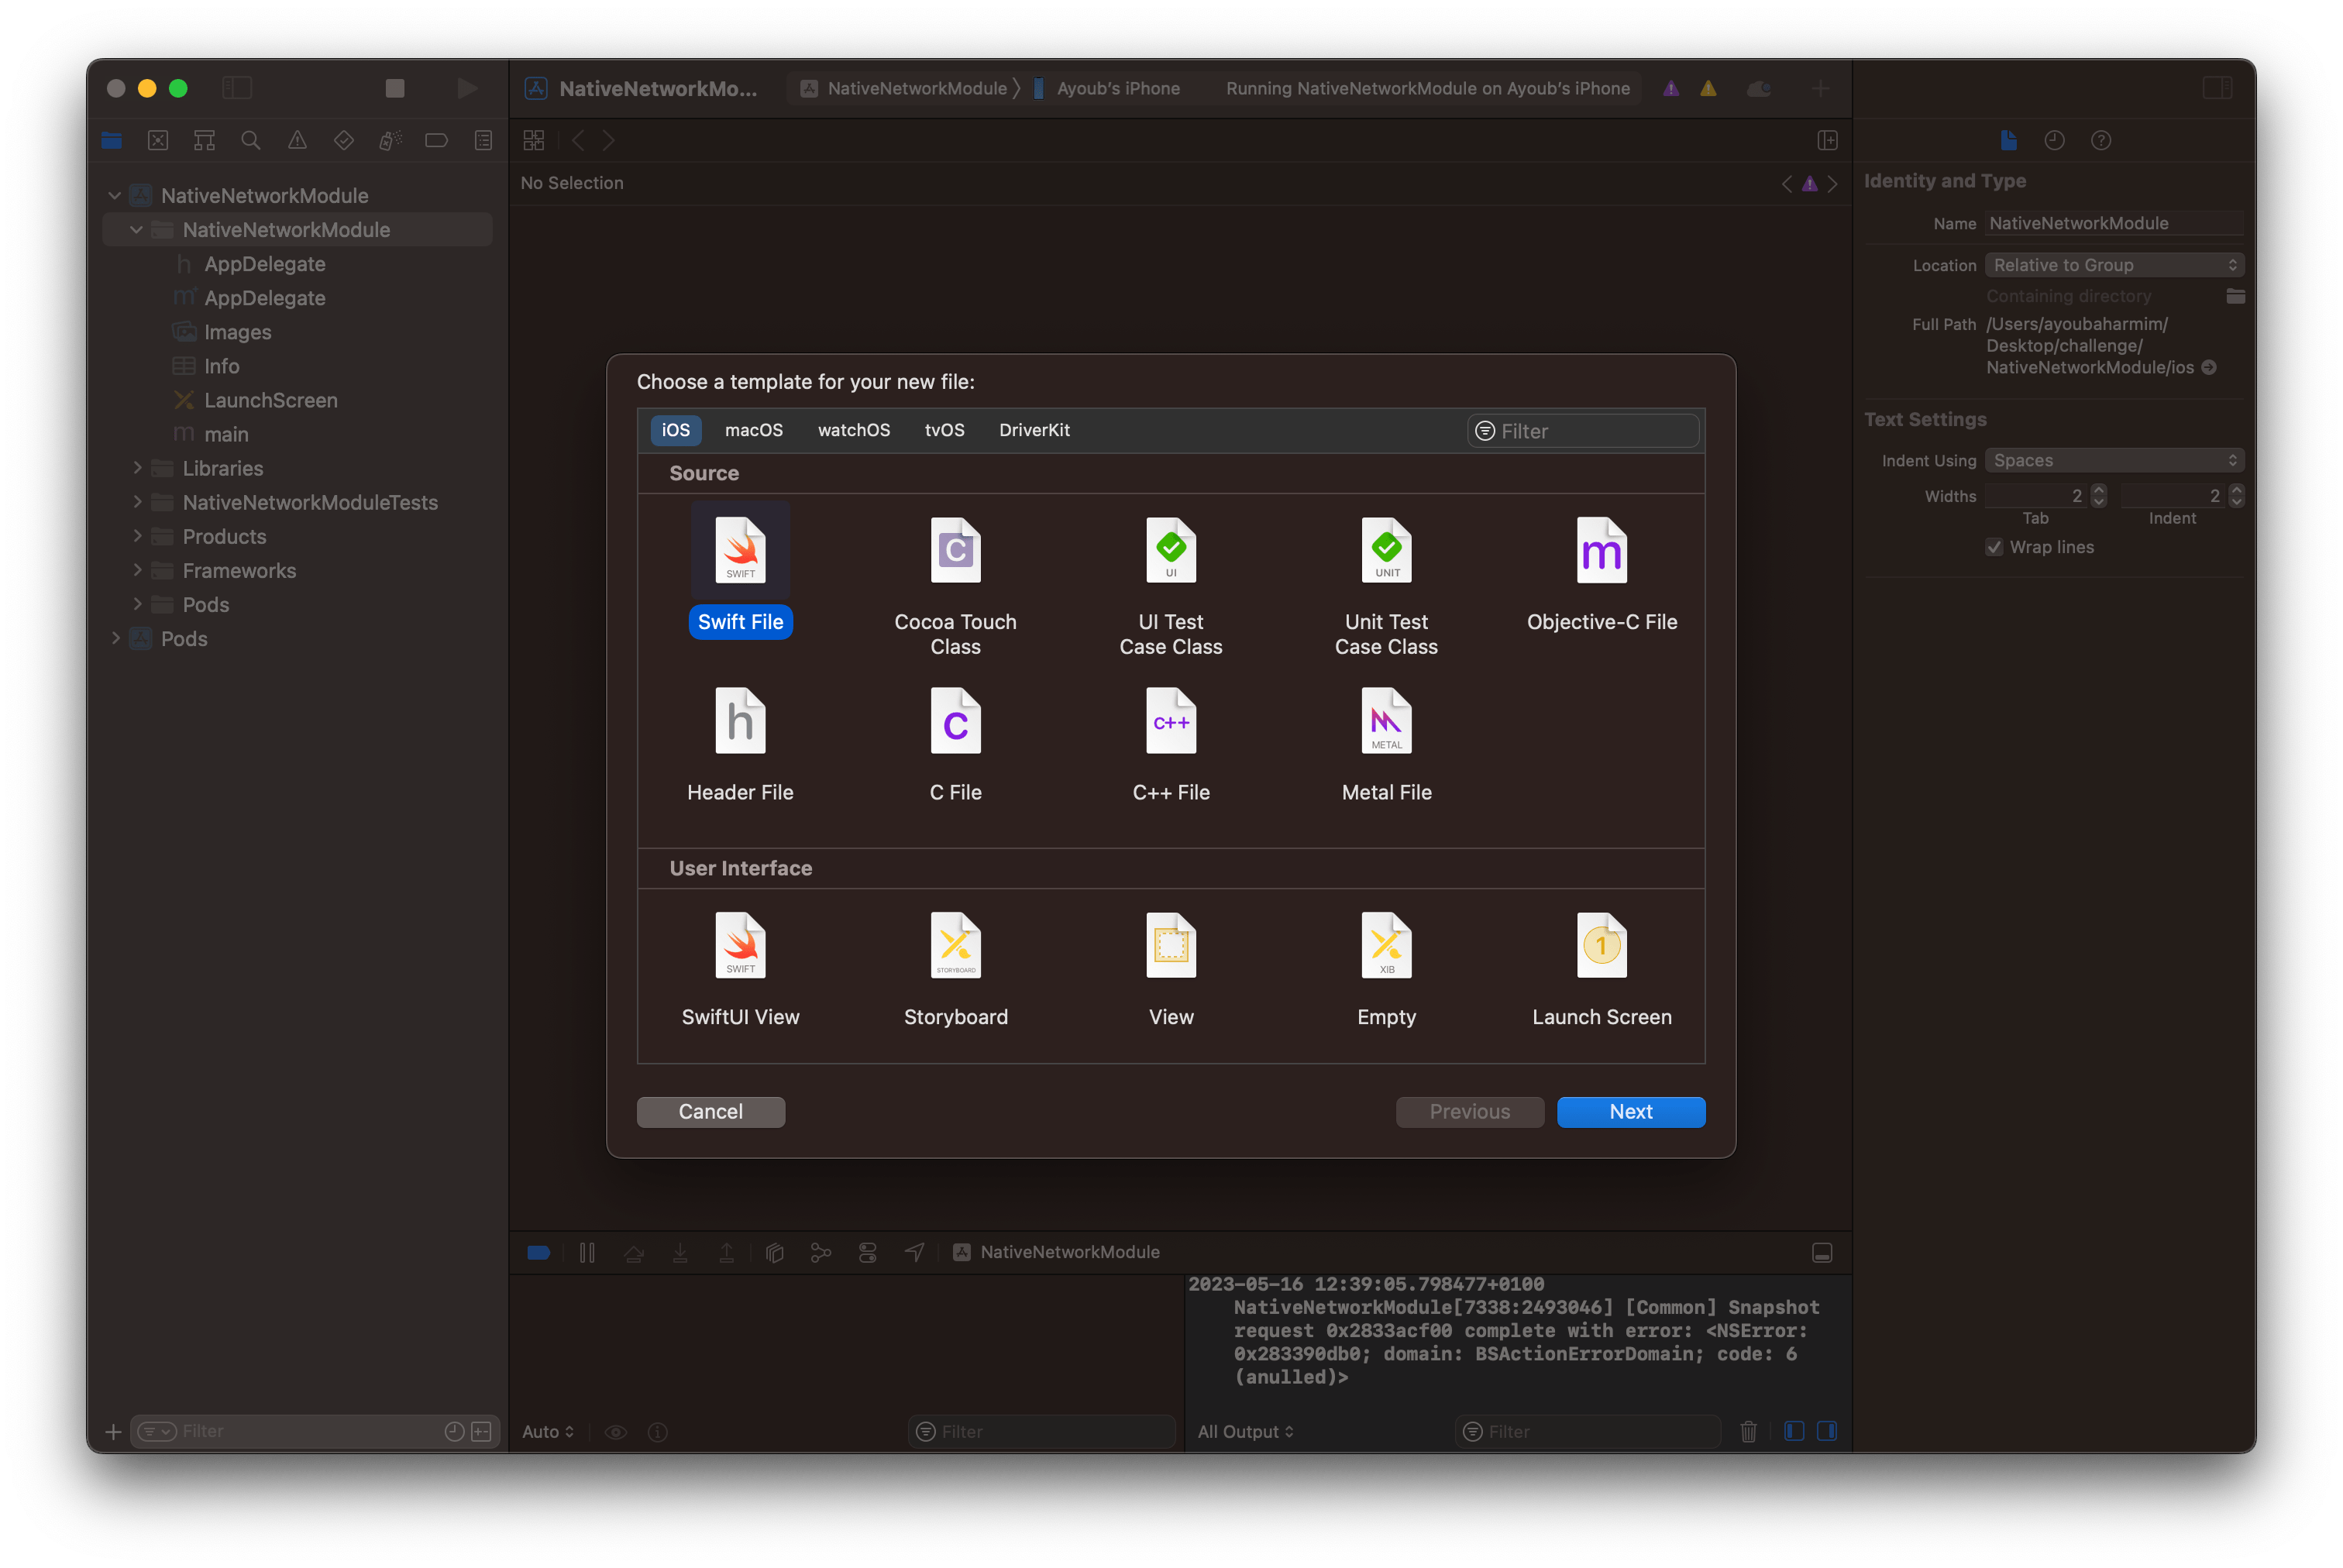
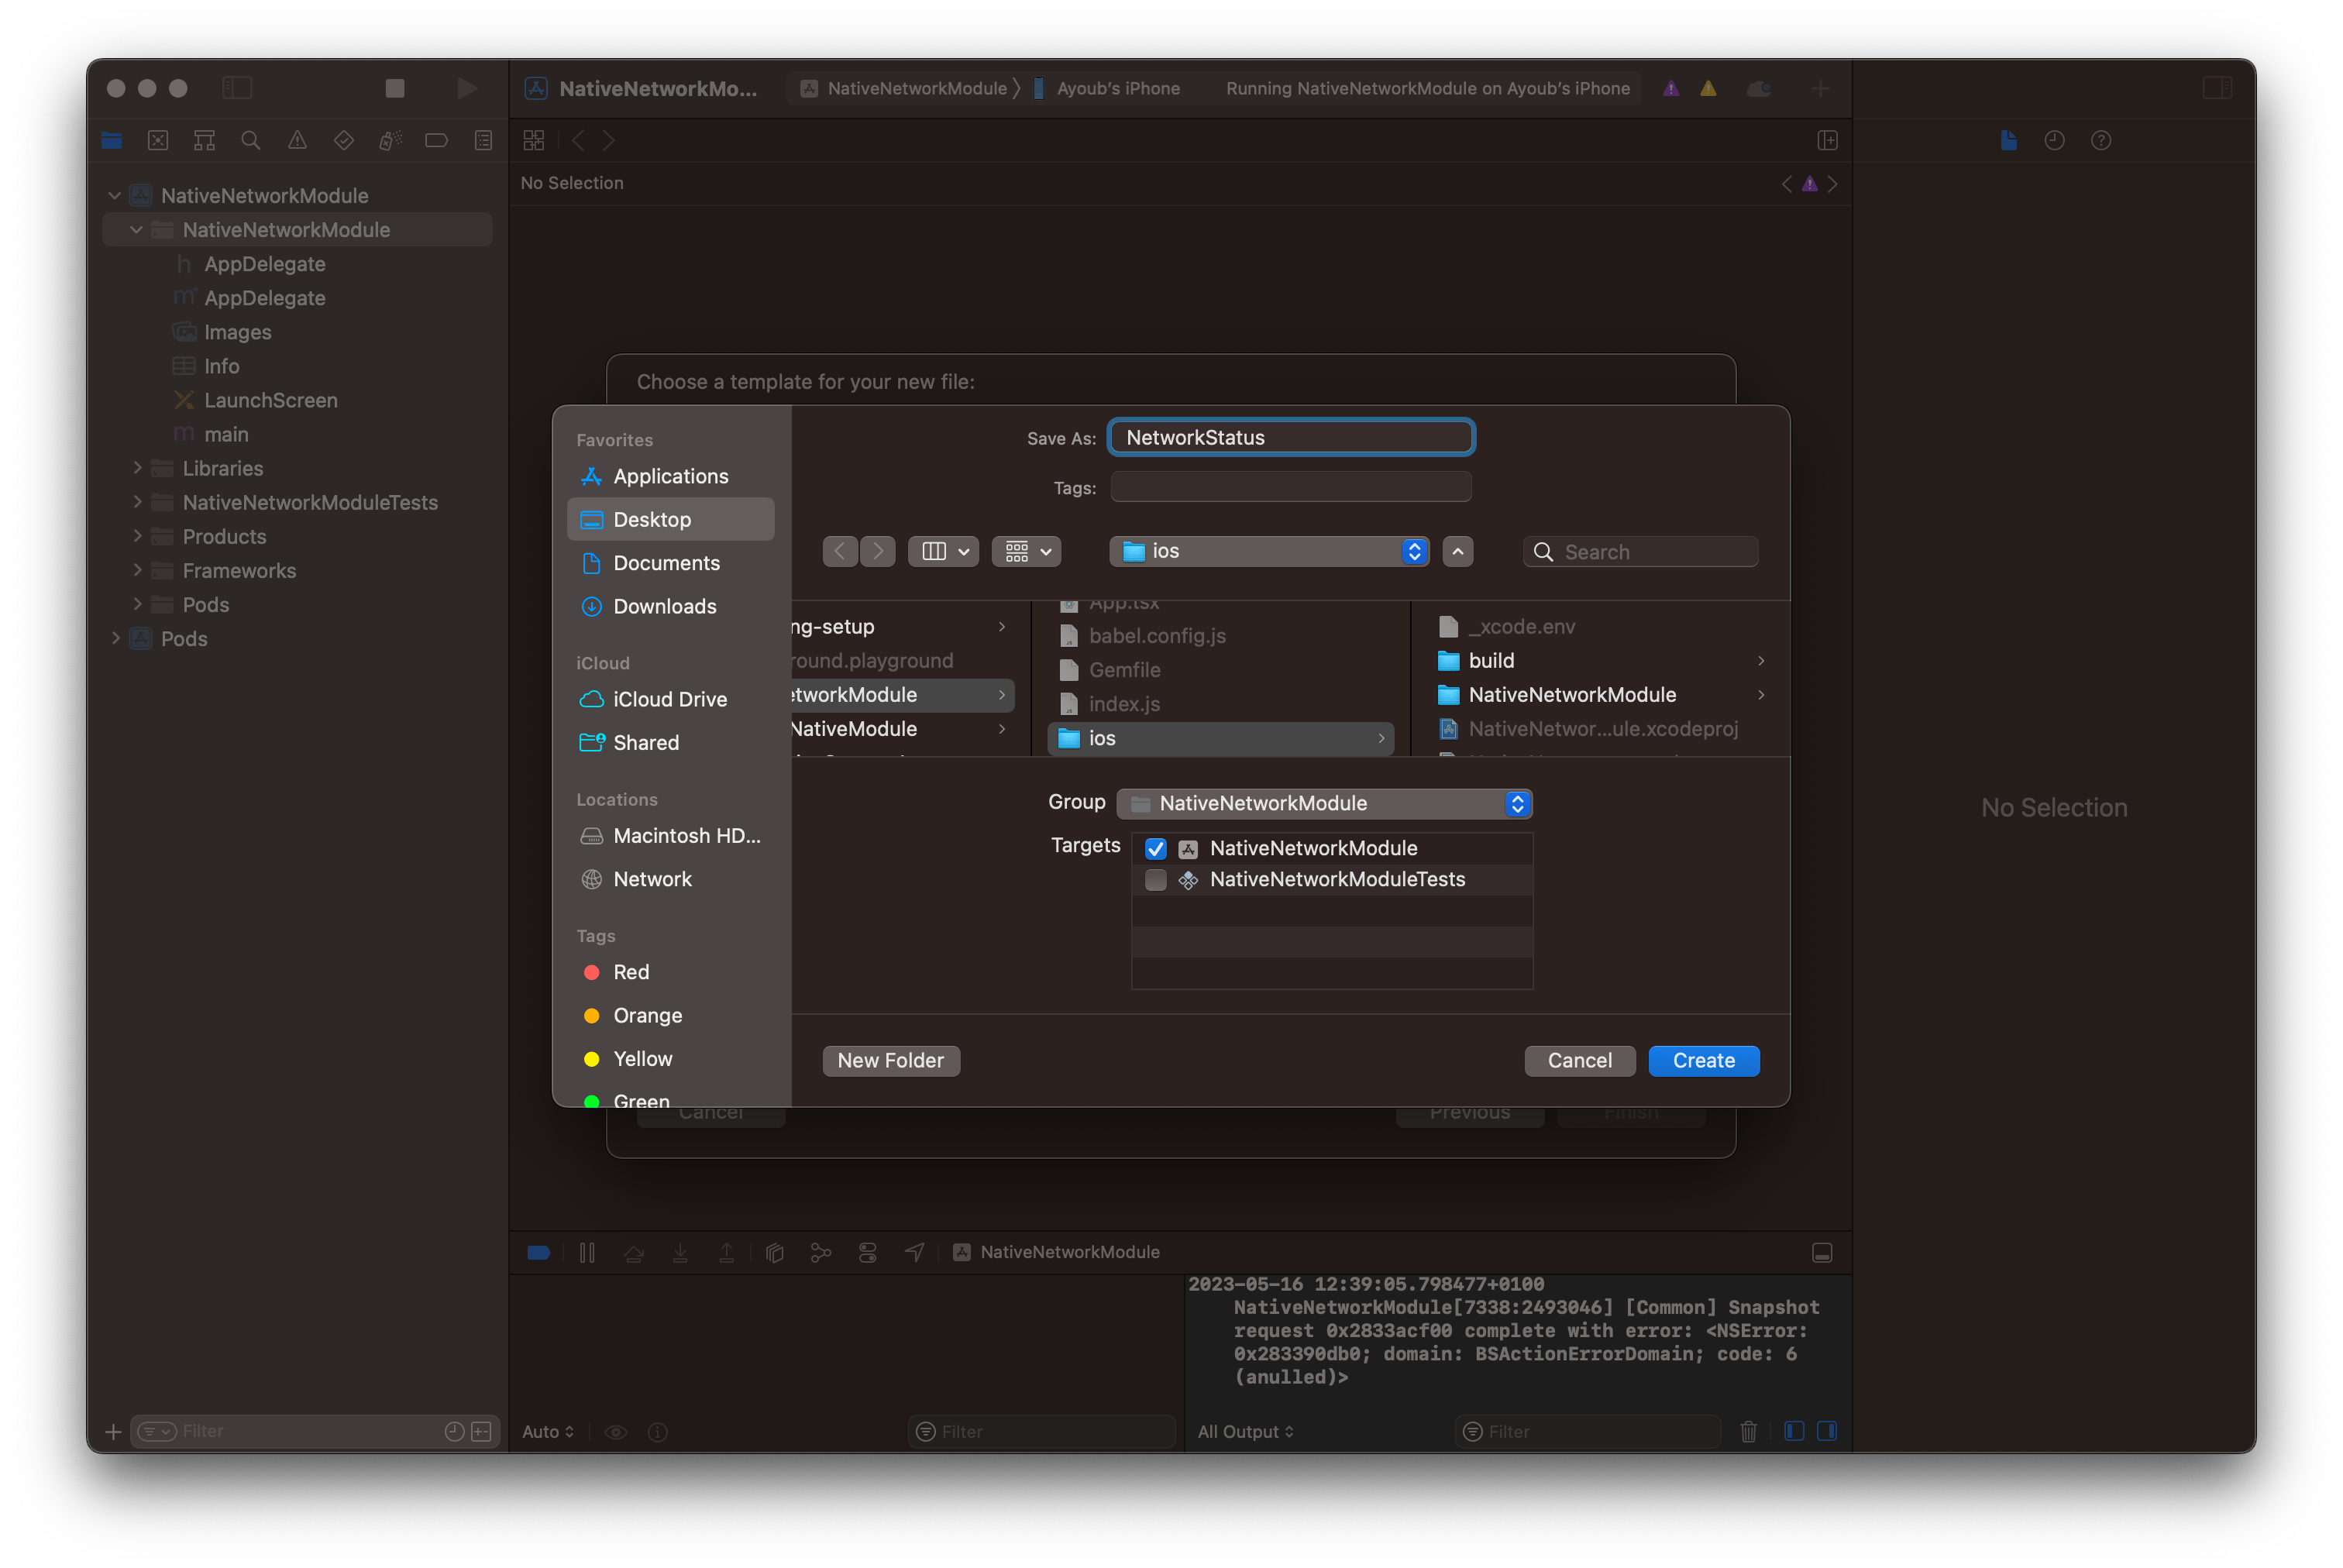
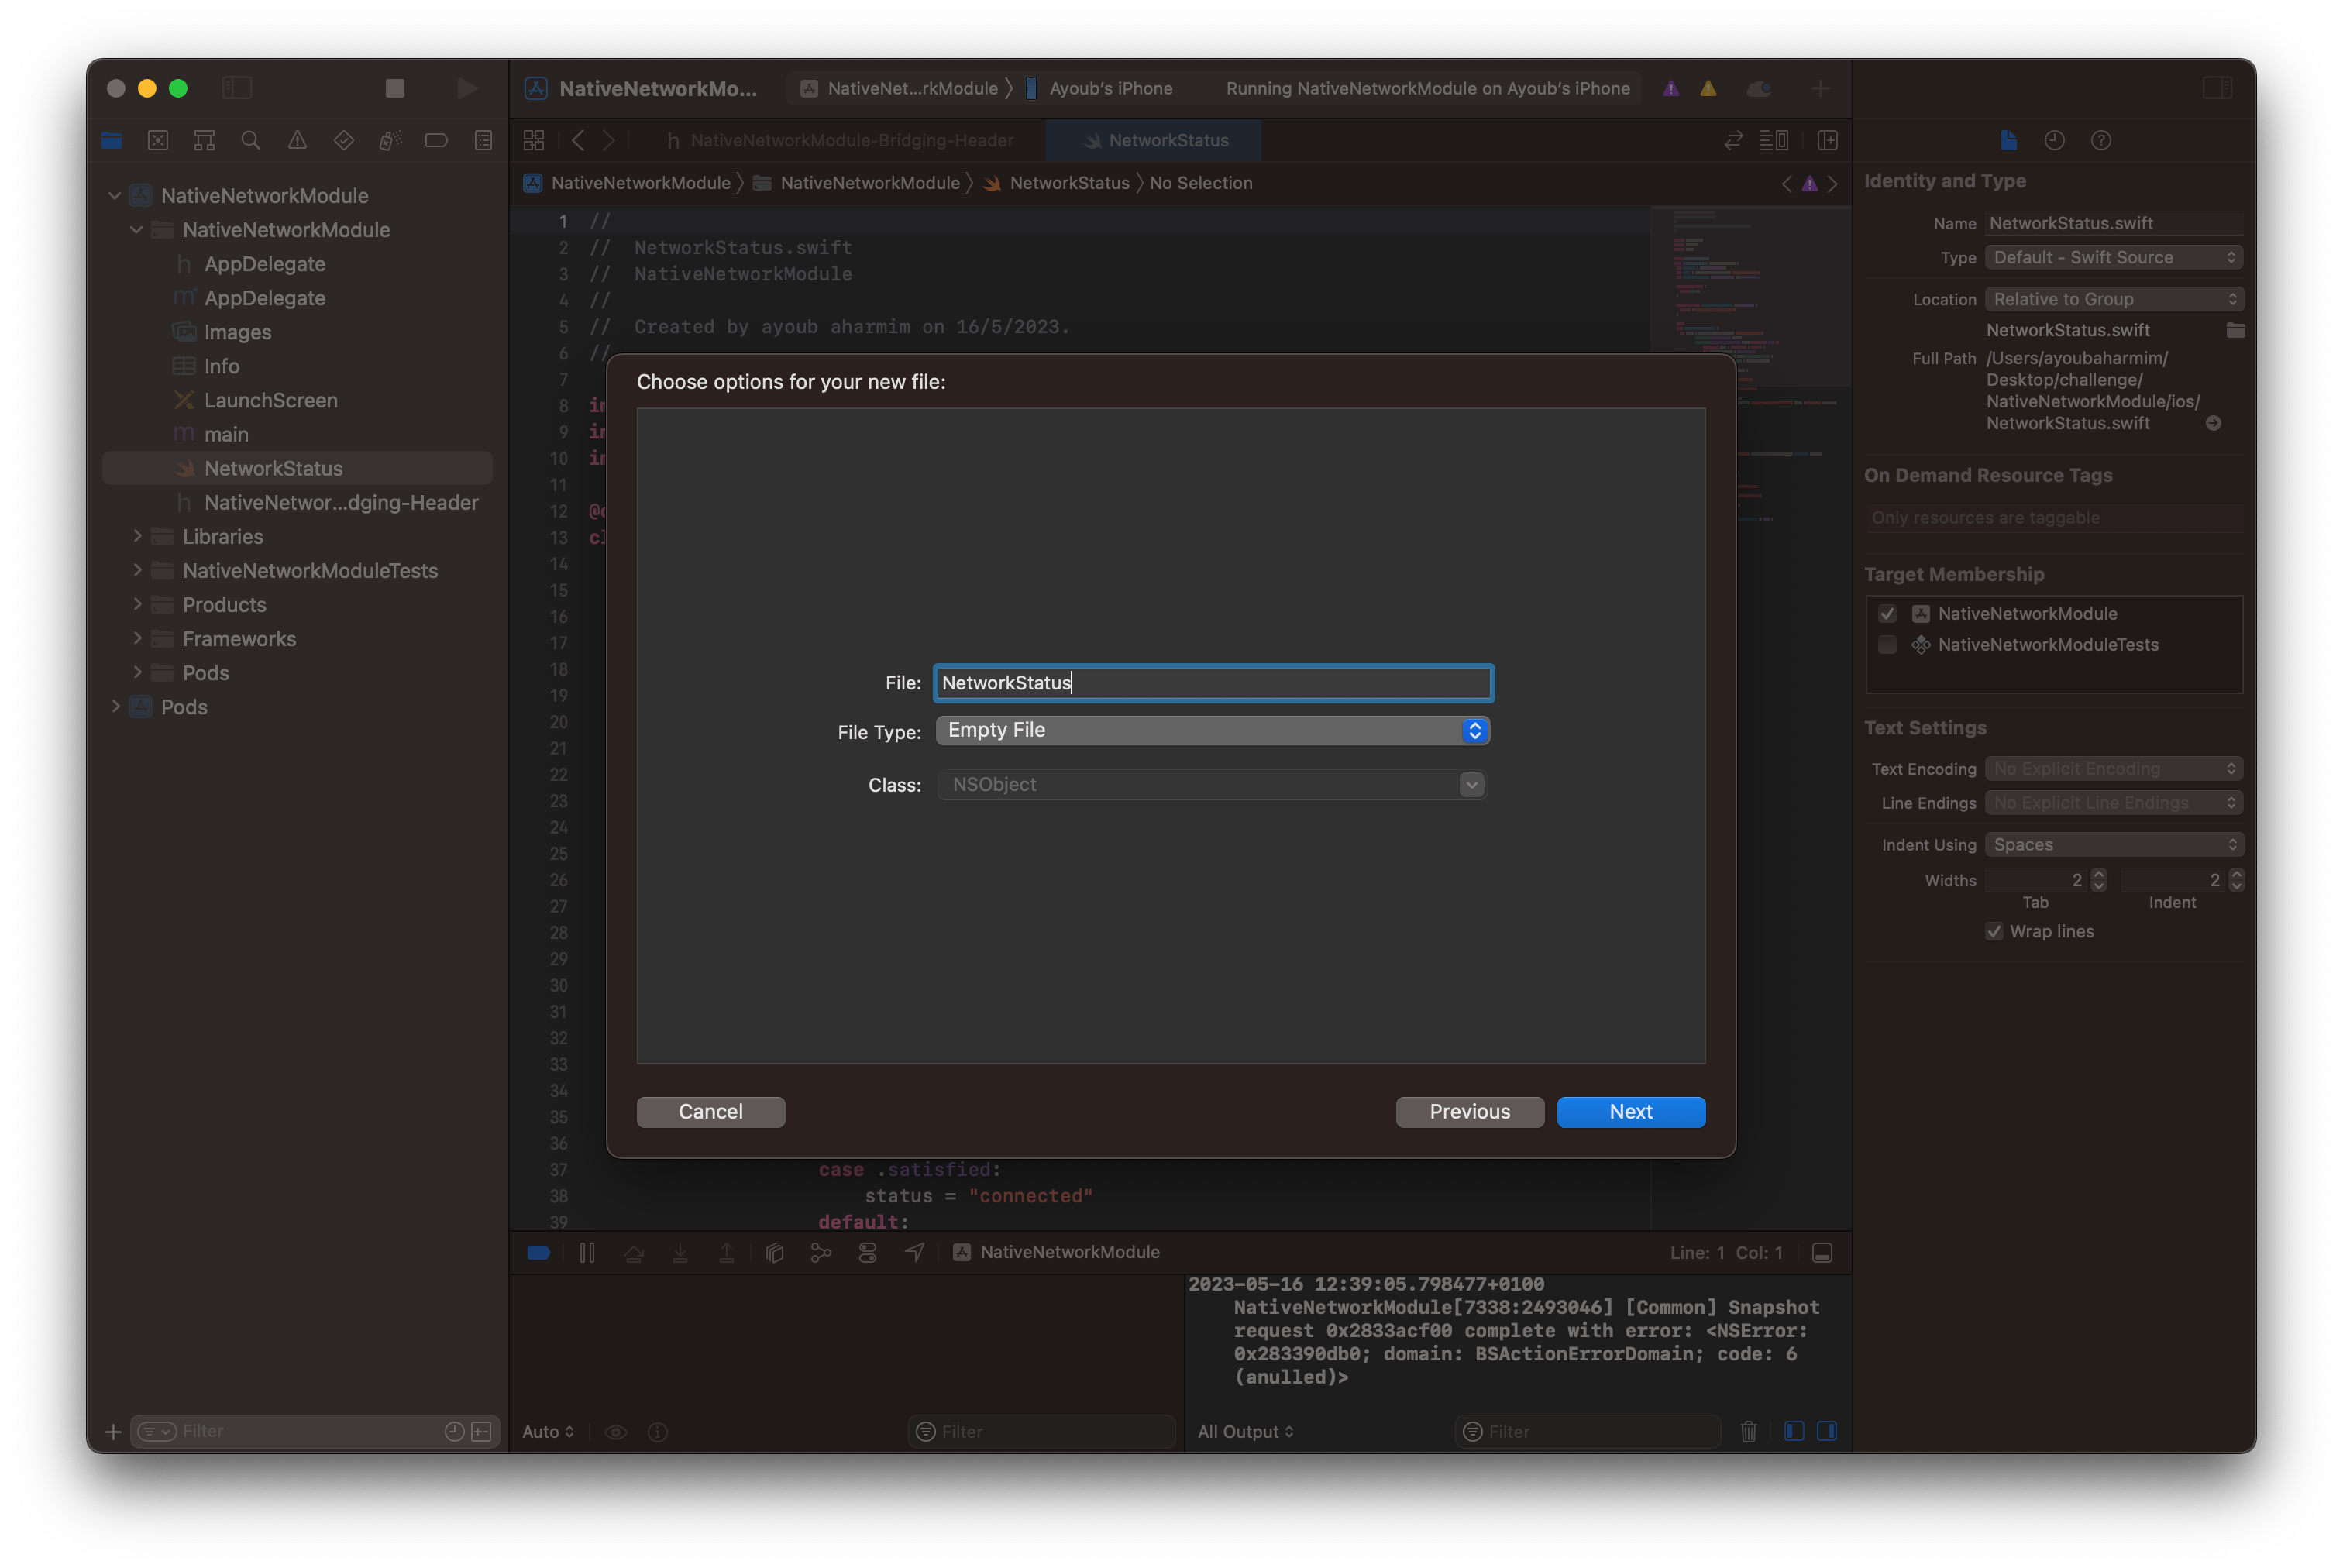
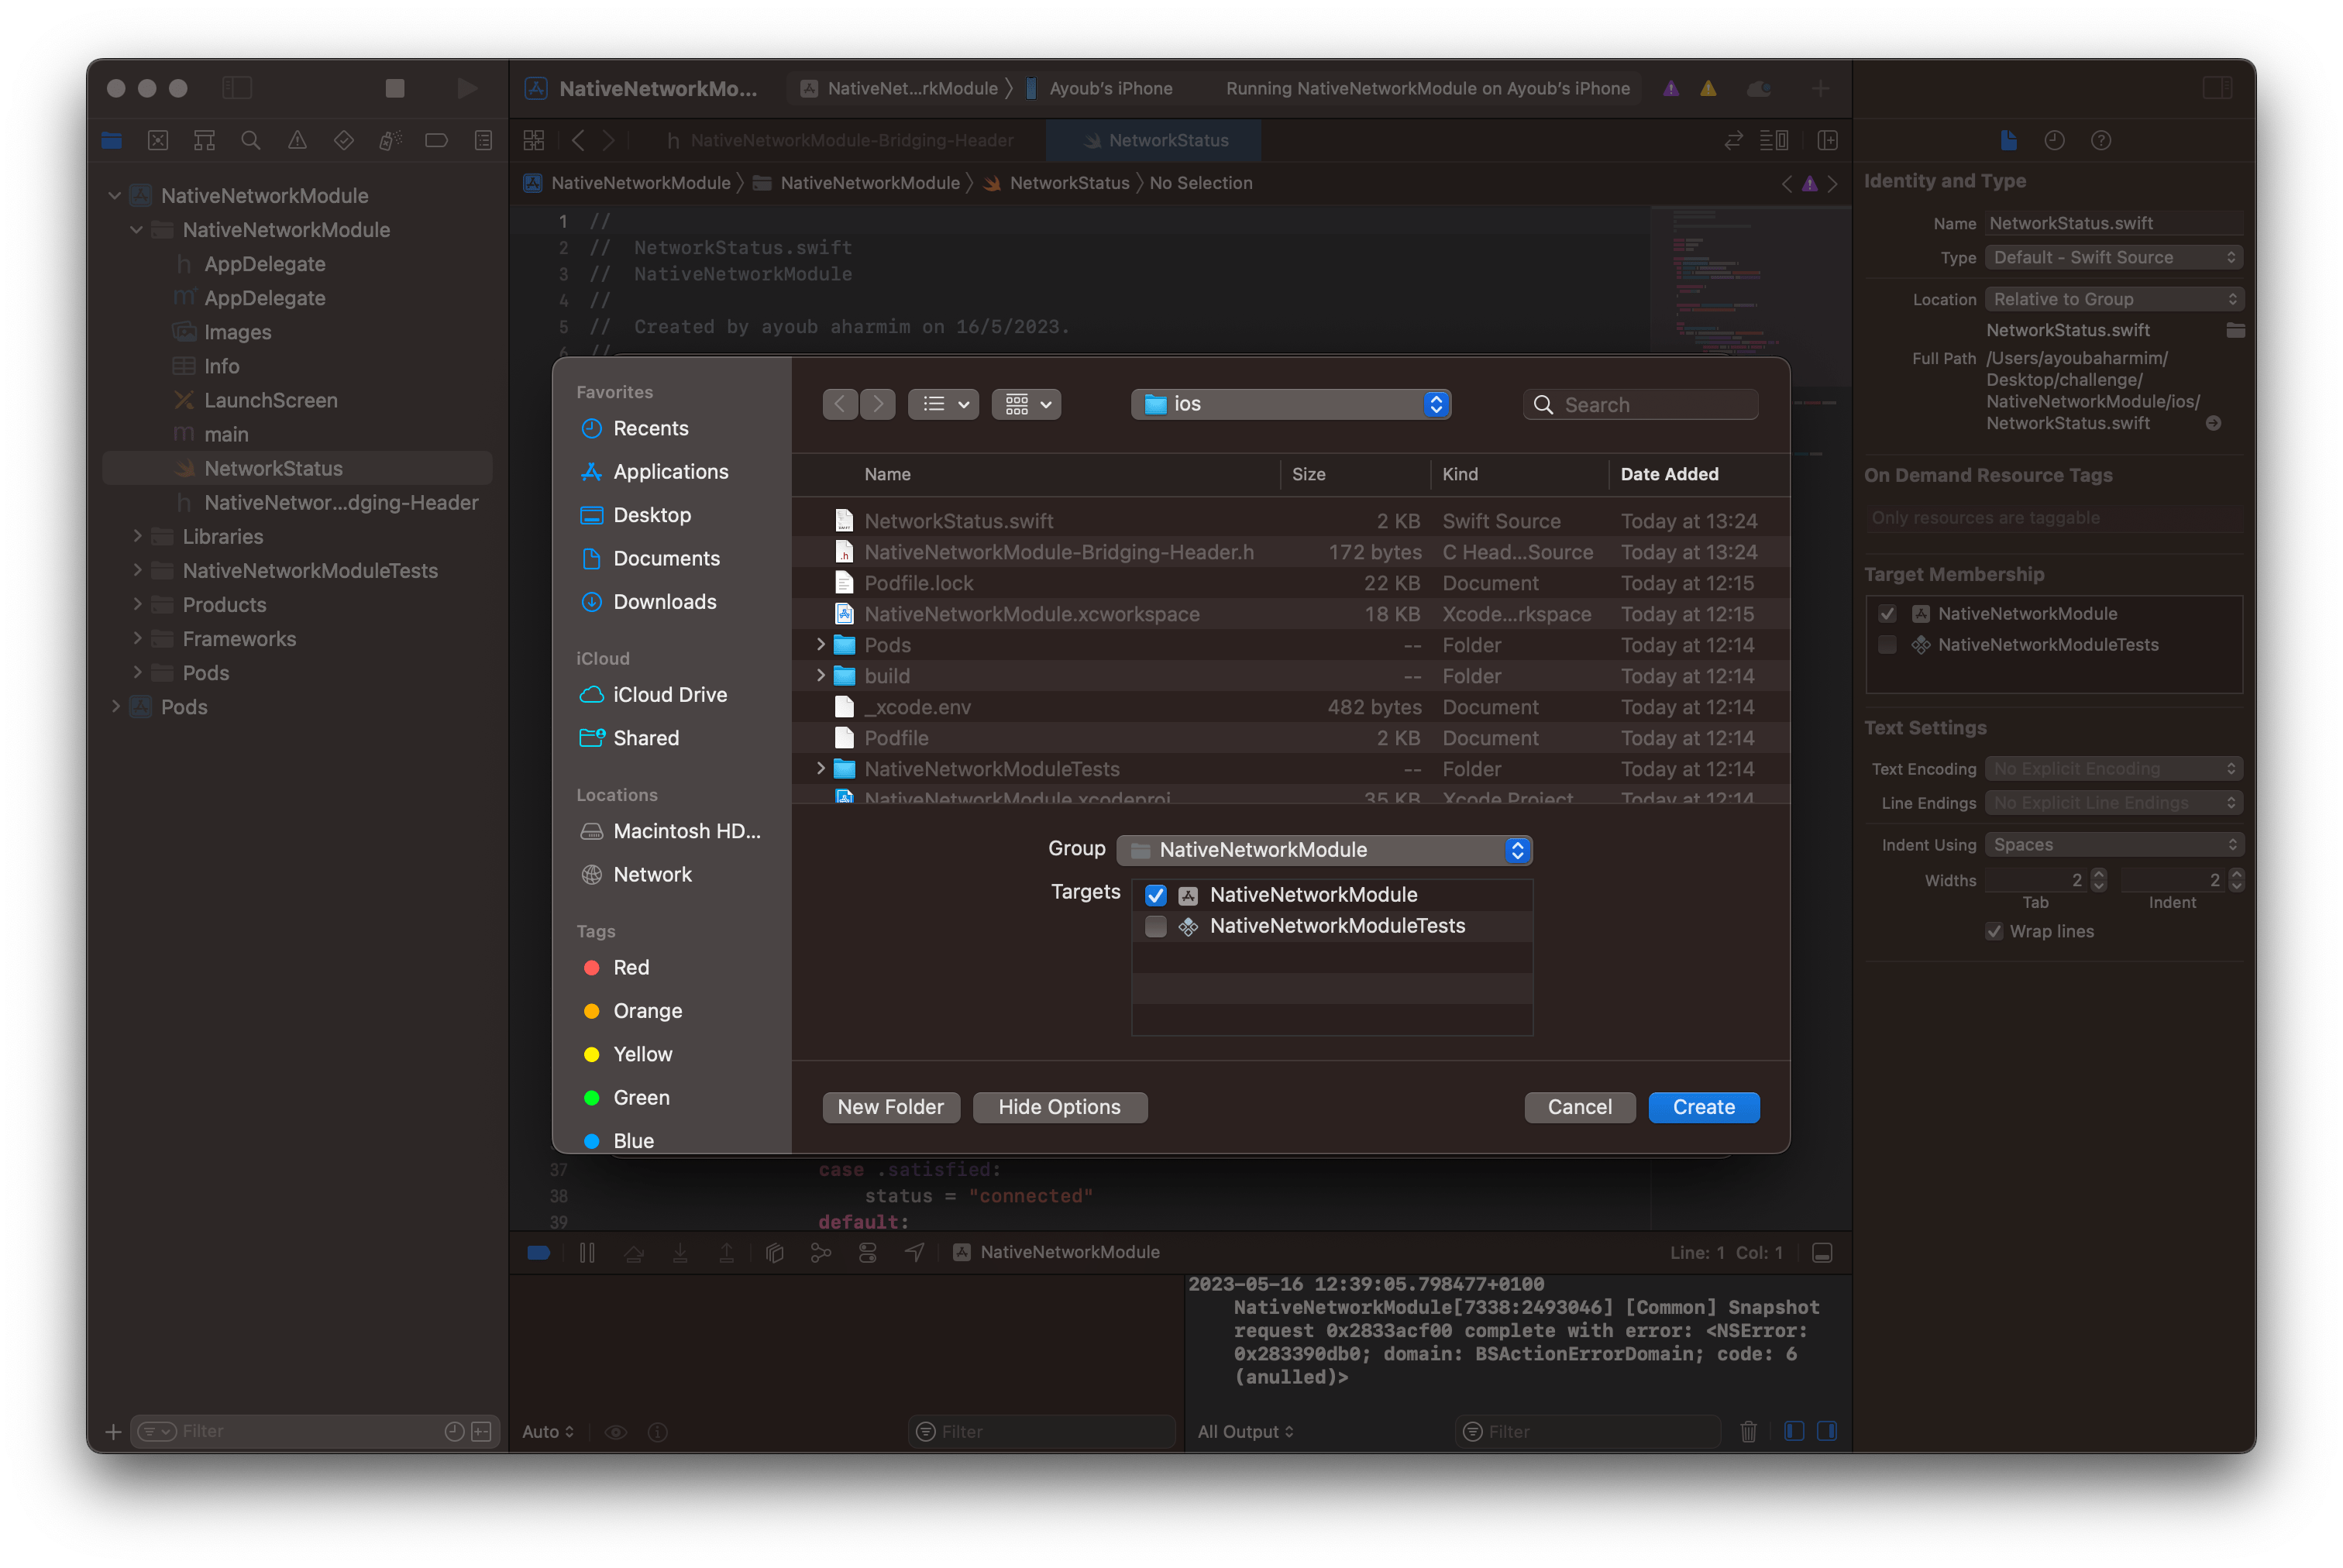
Then select Swift File and click Next Then name the file NetworkStatus. Make sure to select NativeNetworkModule in the Group Section and click Create:
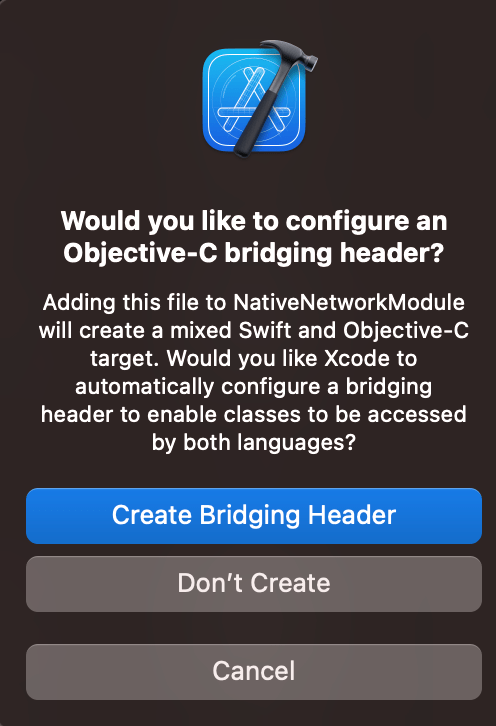
Great! Now that we have our Swift file, you will be prompted to choose if you want to create an Objective-C bridging header. So we create it:
Now, let's add the headers that we will need to expose our Swift code that we will create:
// NativeNetworkModule-Bridging-Header.h

#import "React/RCTBridgeModule.h"
#import "React/RCTEventEmitter.h"
Let's create our class in Swift:
import Foundation
import Network
import React

@objc(NetworkStatus)
class NetworkStatus: RCTEventEmitter {
  let monitor = NWPathMonitor()
  let queue = DispatchQueue(label: "NetworkStatus")
  var previousStatus: NWPath.Status = .unsatisfied

  override init() {
    super.init()
  }

  override func supportedEvents() -> [String]! {
    return ["networkStatusChanged"]
  }

  @objc
  func startMonitoring() {
    let queue = DispatchQueue(label: "NetworkStatus")
            monitor.start(queue: queue)
            monitor.pathUpdateHandler = { [weak self] path in
                guard let self = self else { return }
                let currentStatus = path.status
                if currentStatus != self.previousStatus {
                    self.previousStatus = currentStatus
                    var status = ""
                    switch currentStatus {
                    case .satisfied:
                        status = "connected"
                    default:
                        status = "disconnected"
                    }
                  print(currentStatus)
                  self.sendEvent(withName: "networkStatusChanged", body: ["status": status])
                }
            }
  }

  @objc
  func stopMonitoring() {
    monitor.cancel()
  }

  override static func requiresMainQueueSetup() -> Bool {
    return true
  }
}
The NetworkStatus class is a subclass of RCTEventEmitter, which allows us to emit events to JavaScript. It uses NWPathMonitor to monitor changes in network status. The startMonitoring method starts the monitoring process, and when a status change occurs, it emits a networkStatusChanged event to JavaScript with the new status, and the stopMonitoring method stops the monitoring process. The requiresMainQueueSetup method is used to let React Native know whether the module should be initialized in the main thread or in the background thread. In our case, we want to initialize our module in the main thread, so we returned true.
Expose the Swift module into React Native:
To expose our module to React Native, we need to create a new Objective-C file in our project:
Press Next, and we name it NetworkStatus:
We make sure again that the file is within the
NativeNetworkModuleGroup Section, and we click Create:
This file will contain the code that will allow React Native to interact with our Swift class. In this file, we need to import the RCTBridgeModule.h header file and declare a new module:
// NetworkStatus.m

#import <React/RCTBridgeModule.h>
#import <React/RCTEventEmitter.h>

@interface RCT_EXTERN_MODULE(NetworkStatus, RCTEventEmitter)

RCT_EXTERN_METHOD(startMonitoring)
RCT_EXTERN_METHOD(stopMonitoring)
@end
The @interface declaration creates a new module named NetworkStatus. The RCT_EXTERN_METHODdeclarations expose the methods of our Swift class to React Native.
Use React Native's native module methods.
Although we can use any component or view to call the native module, for the sake of simplicity in this example, we will only use
App.tsx. Before calling the native module, React must import it and listen to the networkStatusChanged
event from Javascript/Typescript. Our code will end up like the following:
// App.tsx

import React, { useEffect, useState } from 'react';
import { NativeEventEmitter, NativeModules, Text, View } from 'react-native';

const { NetworkStatus } = NativeModules;
const networkStatusEmitter = new NativeEventEmitter(NetworkStatus);

const App = () => {
  const [networkStatus, setNetworkStatus] = useState('unknown');
  useEffect(() => {
    networkStatusEmitter.addListener('networkStatusChanged', ({ status }) => {
      console.warn('Network status changed:', status);
      setNetworkStatus(status);
    });

    NetworkStatus.startMonitoring();
    return () => {
      networkStatusEmitter.removeAllListeners('networkStatusChanged');
      NetworkStatus.stopMonitoring();
    };
  }, []);

  return (
    <View style={{ flex: 1, justifyContent: 'center', alignItems: 'center' }}>
      <Text>{networkStatus}</Text>
    </View>
  );
};

export default App;
So, here is the result on an iOS device when it is connected to the internet:

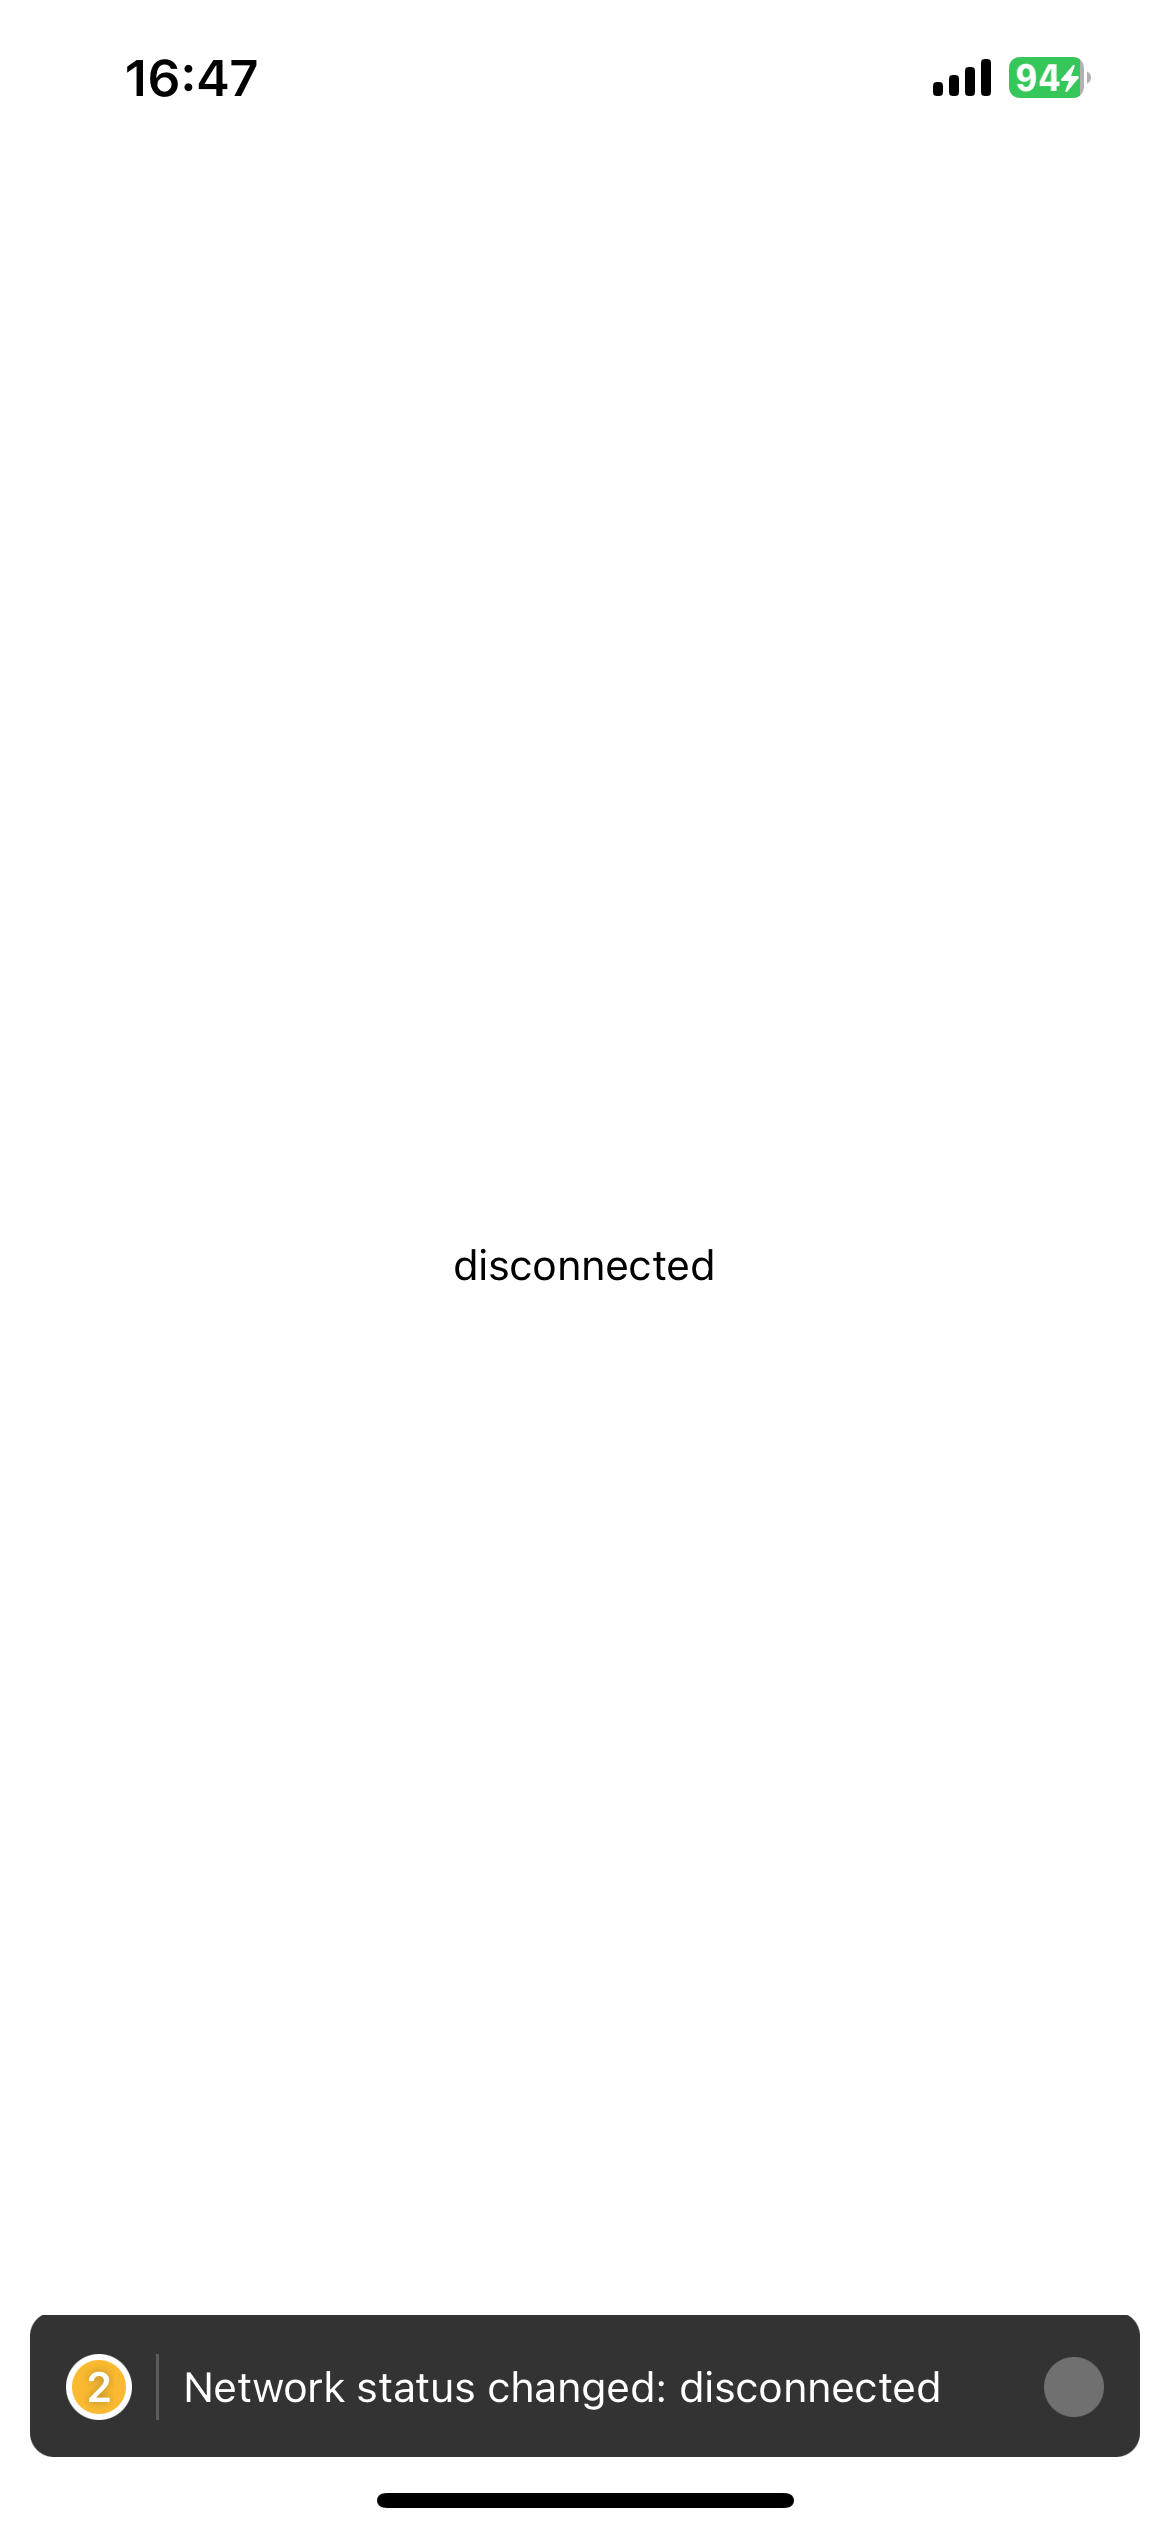
and when it is not connected to the internet:
In the next post, we will see how to implement the same native module for Android.
You can find the full project on the following link